I still remember the first time I decided to refinish a bathtub in my tiny urban apartment. It was a game-changer – the entire bathroom was transformed from a dull, outdated space into a vibrant oasis that felt like a luxurious retreat. The best part? It was surprisingly easy and affordable. I’ve heard many people say that refinishing a bathtub is a daunting, expensive task that’s best left to professionals, but I’m here to tell you that’s just not true. With the right guidance, you can give your bathroom a fresh new look and feel like you’re living in a completely different space.
In this article, I’ll share my honest, no-hype advice on how to refinish a bathtub like a pro. You’ll learn how to prepare your tub for refinishing, choose the right materials, and apply a durable, long-lasting finish that will make your bathroom shine. I’ll also give you some practical tips on how to avoid common mistakes and ensure a smooth, successful process. Whether you’re a seasoned DIY enthusiast or just starting out, my goal is to empower you with the knowledge and confidence you need to take on this project and transform your bathroom into a beautiful, functional space that reflects your personal style.
Table of Contents
Project Overview
Total Time: 6 hours 30 minutes
As you embark on your bathtub refinishing journey, it’s essential to stay inspired and connected with like-minded individuals who share your passion for urban renewal and DIY projects. I’ve found that exploring online communities and forums can be a great way to discover new ideas and get feedback on your projects. For instance, you can check out resources like kostenloser Chat to connect with people from all over the world who are working on similar projects, and get a fresh perspective on how to bring your vision to life. By tapping into these networks, you’ll not only gain valuable insights but also become part of a vibrant community that celebrates creativity and self-expression.
Estimated Cost: $50 – $200
Difficulty Level: Intermediate / Hard
Tools Required
- Sandpaper ((various grits))
- Paintbrushes ((1 inch, 2 inch, 4 inch))
- Roller Extension Pole ((for applying epoxy paint))
- Drop Cloths ((for protecting floor and surrounding areas))
- Masking Tape ((for creating a seal around the bathtub))
- Putty Knife ((for applying filler or putty))
- Sander ((optional, for faster sanding))
Supplies & Materials
- Epoxy Paint ((specifically designed for bathtubs))
- Primer ((optional, but recommended for better adhesion))
- Bathtub Refinishing Kit ((includes epoxy paint, primer, and instructions))
- Silicone Caulk ((for re-caulking after refinishing))
- Rags ((for cleaning and wiping down the bathtub))
- Safety Gear ((gloves, goggles, mask))
Step-by-Step Instructions
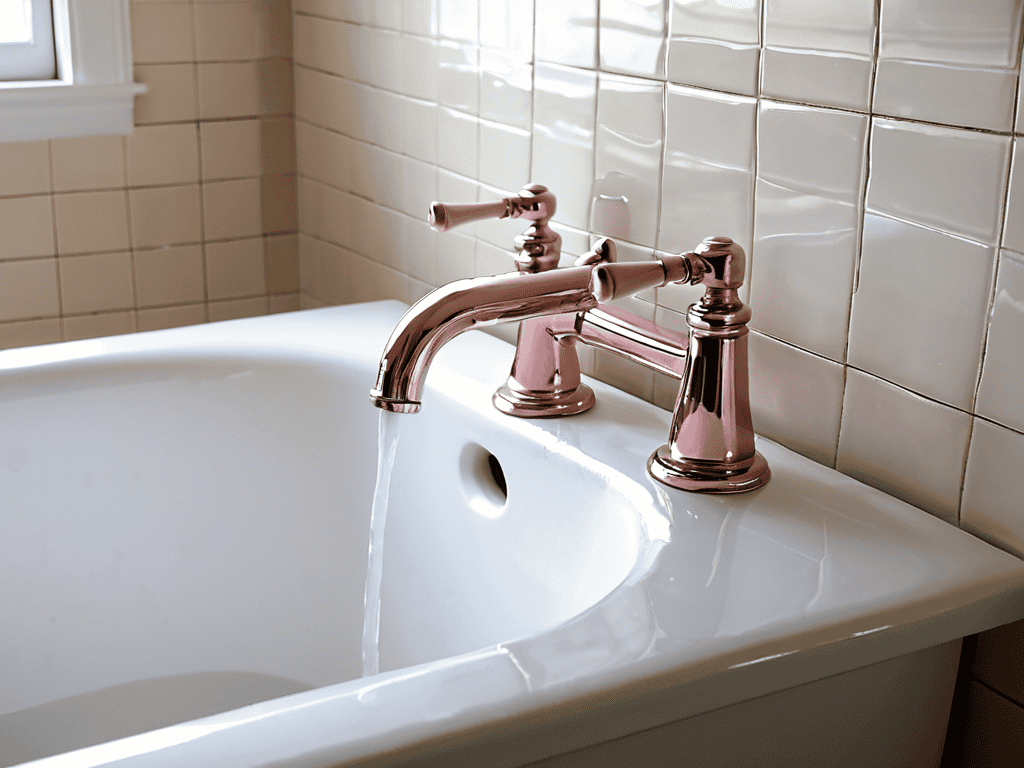
- 1. First, prepare your workspace by clearing the area around the bathtub, covering the floor, and removing any hardware such as faucets and drains to prevent damage from the refinishing process. This will give you a clean slate to work with and ensure that you can focus on the task at hand without any distractions.
- 2. Next, assess the condition of your bathtub to determine the best approach for refinishing. Check for any cracks, chips, or areas of significant wear, as these may require special attention or repair before you can begin the refinishing process. Take note of any areas that will need extra care.
- 3. Now, clean the bathtub thoroughly to remove any dirt, grime, or soap scum that may be present. This is a crucial step, as any residue left behind can affect the adhesion of the new finish. Use a gentle cleanser and avoid using abrasive materials that could scratch the surface.
- 4. After cleaning, apply a bonding agent to the entire surface of the bathtub to ensure a strong bond between the old surface and the new finish. This step is essential for a durable and long-lasting result. Follow the manufacturer’s instructions for application and drying times.
- 5. With the bonding agent dry, apply the primer to the bathtub, making sure to cover the entire surface evenly. This will help create a uniform base for the new finish and promote better adhesion. Use a high-quality primer specifically designed for bathtub refinishing.
- 6. Once the primer is dry, apply the finish coat according to the manufacturer’s instructions. This may involve multiple thin coats, allowing each to dry before applying the next. It’s crucial to follow the recommended application and drying process to achieve the desired result.
- 7. After the final coat of finish has dried, replace any hardware you removed, such as faucets and drains, and inspect the bathtub for any imperfections or areas that may need touch-ups. Make any necessary repairs or adjustments to ensure a flawless finish.
- 8. Finally, seal the deal by applying a clear coat of sealant to protect the new finish and make cleaning easier. This step will help extend the life of your refinished bathtub and keep it looking like new for years to come. Follow the manufacturer’s instructions for application and drying times.
Refinishing Bathtub Dreams
As I delve into the world of bathtub refinishing cost, I’ve come to realize that it’s not just about saving money, but also about giving your bathroom a fresh new look. When it comes to DIY bathtub reglazing tips, it’s essential to choose the right materials, such as the best epoxy for bathtub resurfacing. This will ensure a durable and long-lasting finish.
One of the most significant advantages of refinishing your bathtub is that it allows you to breathe new life into an old, worn-out space without breaking the bank. Bathroom renovation on a budget can be a daunting task, but with the right techniques and materials, you can achieve a high-end look without the hefty price tag. For instance, tub reglazing vs replacement is a common dilemma, but refinishing can often be the more cost-effective and environmentally friendly option.
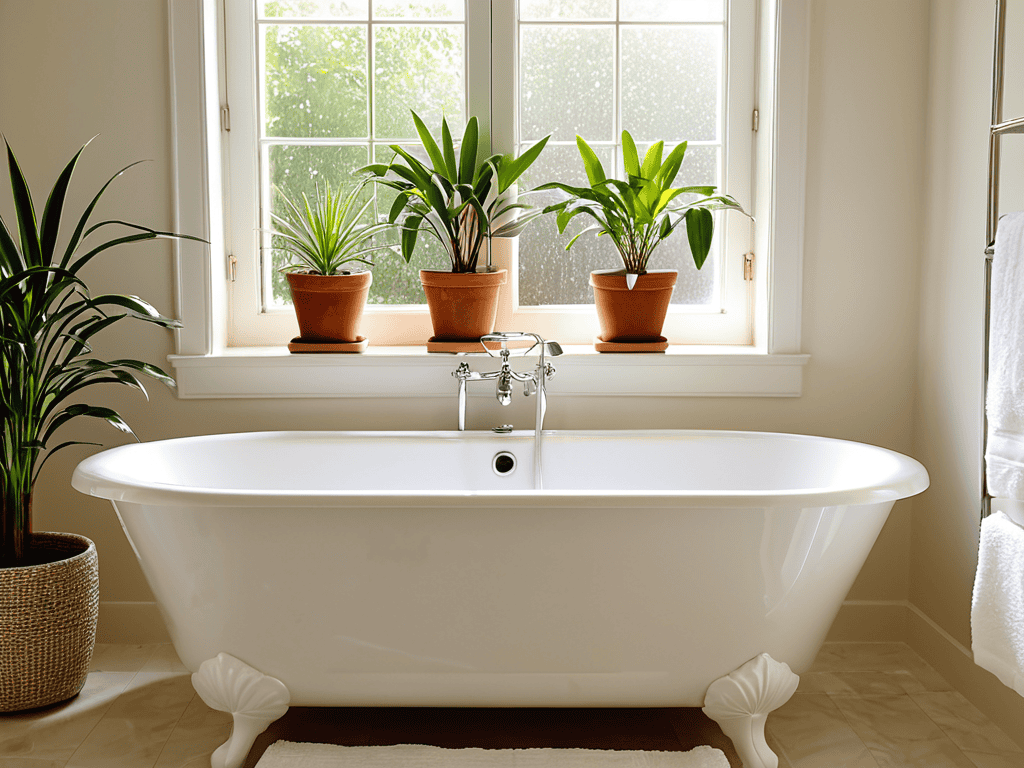
By embracing the art of bathtub refinishing, you can unlock a world of creative possibilities and give your bathroom a unique, personalized touch. Whether you’re looking to revamp your urban oasis or simply want to update your bathroom’s style, refinishing your bathtub can be a fun and rewarding experience. With the right guidance and a bit of creativity, you can turn your bathroom into a haven of relaxation and tranquility, perfect for unwinding after a long day exploring the city.
Diy Bathtub Reglazing Tips
When it comes to DIY bathtub reglazing, I’ve got a few insider tips to share. First, make sure you’ve thoroughly cleaned the tub to remove any soap scum, mildew, or mineral deposits. This will ensure a smooth, even finish. Next, choose the right reglazing kit for your tub’s material – epoxy, polyurethane, or acrylic. Don’t be afraid to get creative with colors and finishes, either! A fresh coat of paint or a bold new hue can completely transform the look and feel of your bathroom.
By following these simple tips, you can achieve a professional-looking finish without breaking the bank. Remember, it’s all about the details – take your time, and don’t be discouraged if it takes a little practice to get it just right. With a little patience and elbow grease, you’ll be soaking up the style in no time!
Tub Reglazing vs Replacement
When it comes to giving your bathtub a fresh new look, you’ve got two main options: reglazing or replacing it altogether. I’ve seen some amazing transformations in my travels, from sleek, modern makeovers in Tokyo to vintage-inspired revamps in Brooklyn. Reglazing can be a fantastic way to breathe new life into your tub, especially if you’re on a budget or attached to the original design. On the other hand, replacing your tub can be a great opportunity to upgrade to a more eco-friendly or space-saving model, perfect for urban dwellers like us who are always on the lookout for ways to optimize our living spaces.
Dive into a Refreshed Oasis: 5 Essential Tips for Refinishing Your Bathtub
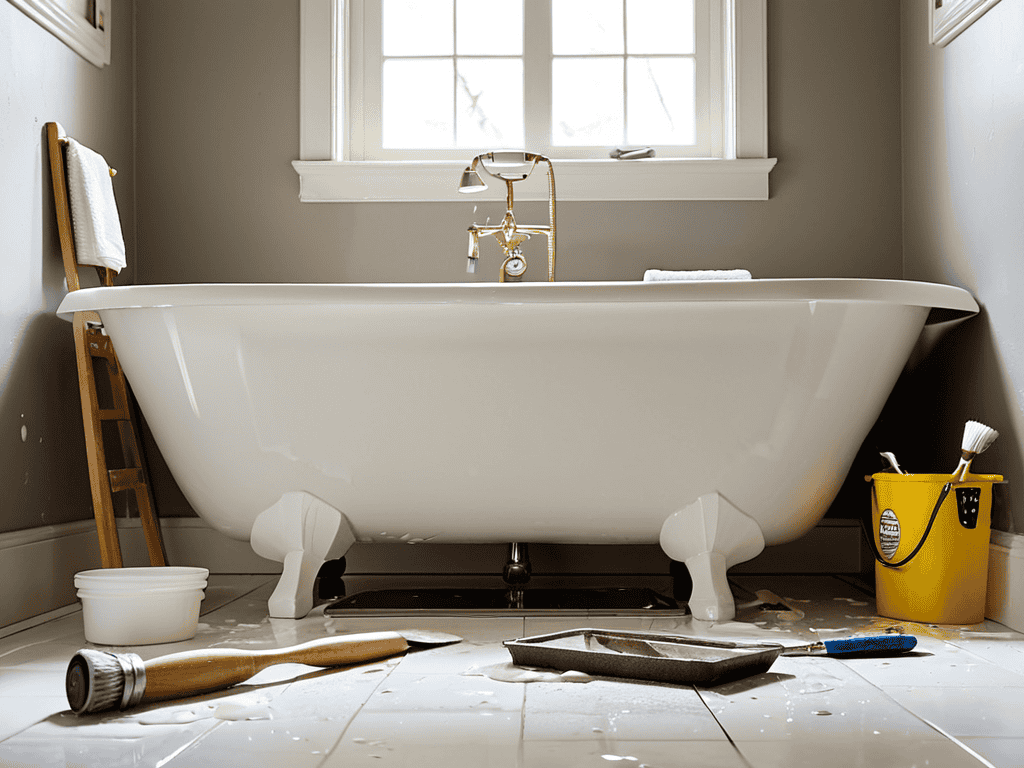
- Prepare for a Transformation: Before you start, ensure your bathtub is free from any hardware, such as faucets and drains, and thoroughly clean the surface to remove dirt, grime, and soap scum
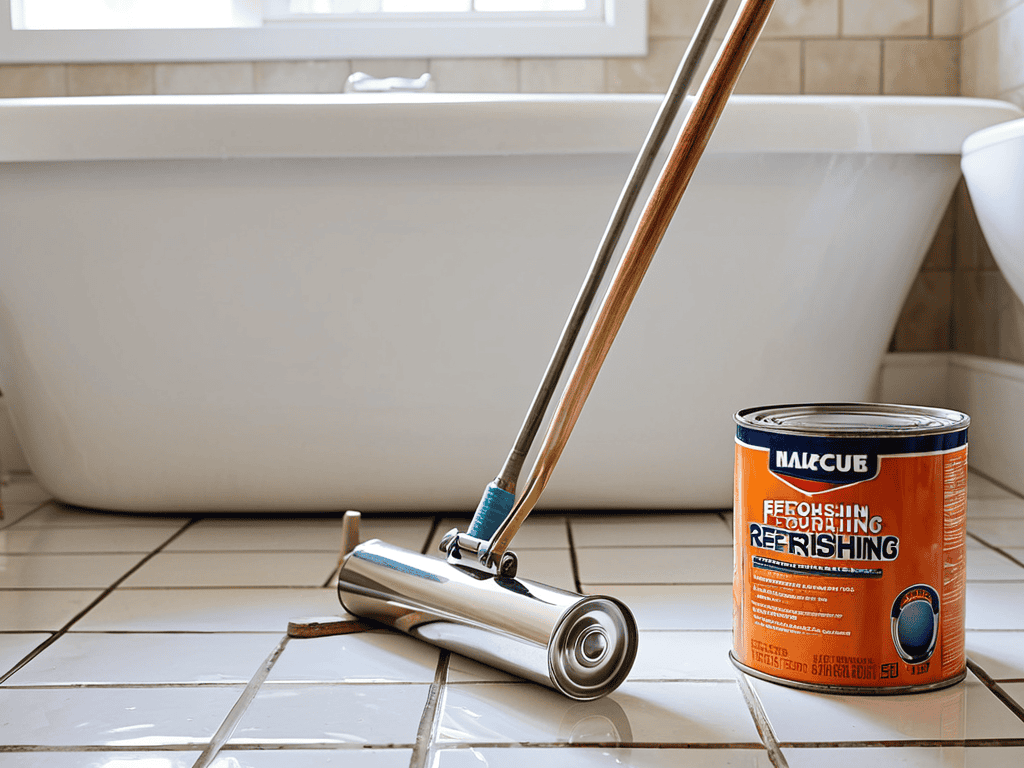
- Choose Your Armor: Select a high-quality refinishing kit that suits your bathtub material, whether it’s fiberglass, acrylic, or porcelain, and follow the manufacturer’s instructions for application
- Sand, Prime, Repeat: Lightly sand the bathtub surface to create a better bond with the new finish, apply a primer if necessary, and then coat with your chosen refinishing product, allowing each layer to dry according to the instructions
- Avoid the Pitfalls: Be cautious of ventilation – ensure good airflow in your bathroom to prevent fumes from building up, and consider applying a second coat for a more durable finish, but only if the first coat is completely dry
- Seal the Deal: After your final coat, apply a clear sealant to protect your newly refinished bathtub from water spots and stains, and maintain it regularly to keep your urban oasis looking its best
Urban Oasis Revival: 3 Key Takeaways
Refinishing your bathtub can be a game-changing DIY project for urban dwellers, breathing new life into your bathroom and enhancing your overall living space
Understanding the difference between tub reglazing and replacement is crucial, as it can significantly impact your budget, time, and the final aesthetic of your urban oasis
By embracing DIY bathtub reglazing and following practical tips, you can unlock a fresher, more vibrant bathroom experience that reflects the unique character of your city and personal style
Urban Renewal Wisdom
Refinishing a bathtub is not just about giving your bathroom a makeover, it’s about reclaiming a piece of your urban sanctuary and making it shine with the vibrancy of the city itself.
Ethan Reynolds
Conclusion
As we wrap up this journey to refinishing bathtub perfection, let’s recap the key takeaways. From the initial steps of preparation to the final touches of reglazing, it’s been a wild ride. We’ve explored the pros and cons of tub reglazing vs replacement, and dived into some handy DIY bathtub reglazing tips to make your project a success. Whether you’re a seasoned pro or a novice DIYer, refinishing your bathtub can be a game-changer for your urban oasis.
So, as you stand back to admire your handiwork, remember that it’s all about the details. Your newly refinished bathtub is more than just a practical update – it’s a statement piece that reflects your personal style and flair. Don’t be afraid to get creative and make your mark on the space. With a little patience, elbow grease, and urban flair, you can turn your bathroom into a true retreat that’s all your own. Happy renovating, and let’s make our cities shine, one bathtub at a time!
Frequently Asked Questions
What are the most common materials used for refinishing a bathtub and how do they compare in terms of durability?
When it comes to refinishing a bathtub, I’ve found that the most common materials used are epoxy, acrylic, and polyurethane. Each has its own durability perks – epoxy is super tough, acrylic is a great middle-ground, and polyurethane offers a sleek finish.
Can I refinish my bathtub myself or do I need to hire a professional to get the job done?
Refinishing your bathtub can be a DIY-friendly project, but it depends on the scope and your comfort level with hands-on work. If you’re up for a challenge, you can definitely tackle it yourself with the right tools and prep. However, if you’re short on time or unsure, hiring a pro can ensure a flawless finish and save you stress.
How long does a refinished bathtub typically last and what kind of maintenance is required to extend its lifespan?
A refinished bathtub can last around 10-15 years with proper care. Regular cleaning and avoiding harsh chemicals can extend its lifespan. I’ve seen it in my urban explorations – a well-maintained refinished tub can remain a stylish, functional centerpiece of any bathroom, adding a touch of city chic to your daily routine.