I still remember the first time I tried to give my jeans a vintage look – it was a disaster. I ended up with a pair of ripped, faded, and completely unwearable pants. But that experience sparked a fascination with the art of distressing denim, and I’ve spent years perfecting my technique. If you’re looking for a guide to distressing your own jeans for a vintage look, you’re in the right place. I’ve learned that it’s not just about ripping and fading, but about creating a unique, worn-in look that makes your jeans truly special.
In this article, I’ll share my no-nonsense approach to distressing jeans, from the best tools to use to the techniques that will give you the most authentic vintage look. You’ll learn how to assess your jeans, choose the right methods for distressing, and avoid common mistakes that can ruin your favorite pair. Whether you’re a fashion enthusiast or just looking to breathe new life into an old pair of jeans, this guide will give you the practical advice you need to achieve a rad vintage vibe that’s all your own.
Table of Contents
Guide Overview: What You'll Need
Total Time: 1 hour 30 minutes
Estimated Cost: $10 – $20
Difficulty Level: Intermediate
Tools Required
- Sandpaper (various grits)
- Scissors
- Denim needle (for sewing machine)
- Pumice stone
- Cheese grater (optional for heavy distressing)
- Sewing machine (optional for repairs)
Supplies & Materials
- Jeans to distress (made of denim)
- Thread (for sewing machine)
- Fabric paint or markers (optional for additional details)
- Razor or craft knife (for cutting and fraying)
- Distressing solution (optional, e.g., vinegar and water solution)
Step-by-Step Instructions
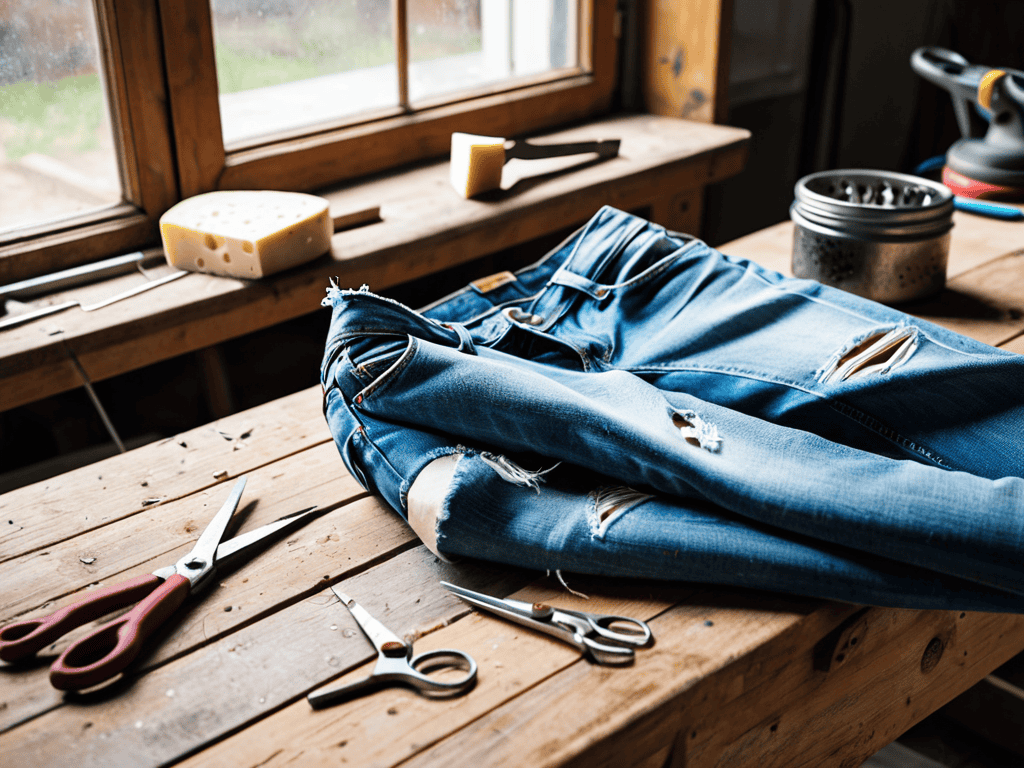
- 1. First, prep your workspace by laying down a protective cover, like an old sheet or a plastic tablecloth, to avoid any damage or mess. You’ll also want to gather your tools: a pair of scissors, sandpaper, a cheese grater or a similar tool for distressing, and some bleach or fade solution if you want to give your jeans a faded look.
- 2. Next, try on your jeans and mark the areas where you want to distress them. You can use a piece of chalk or a marker to lightly draw on the fabric. Consider the natural wear patterns of jeans, like the knees, thighs, and pockets, and mark those areas for extra distressing.
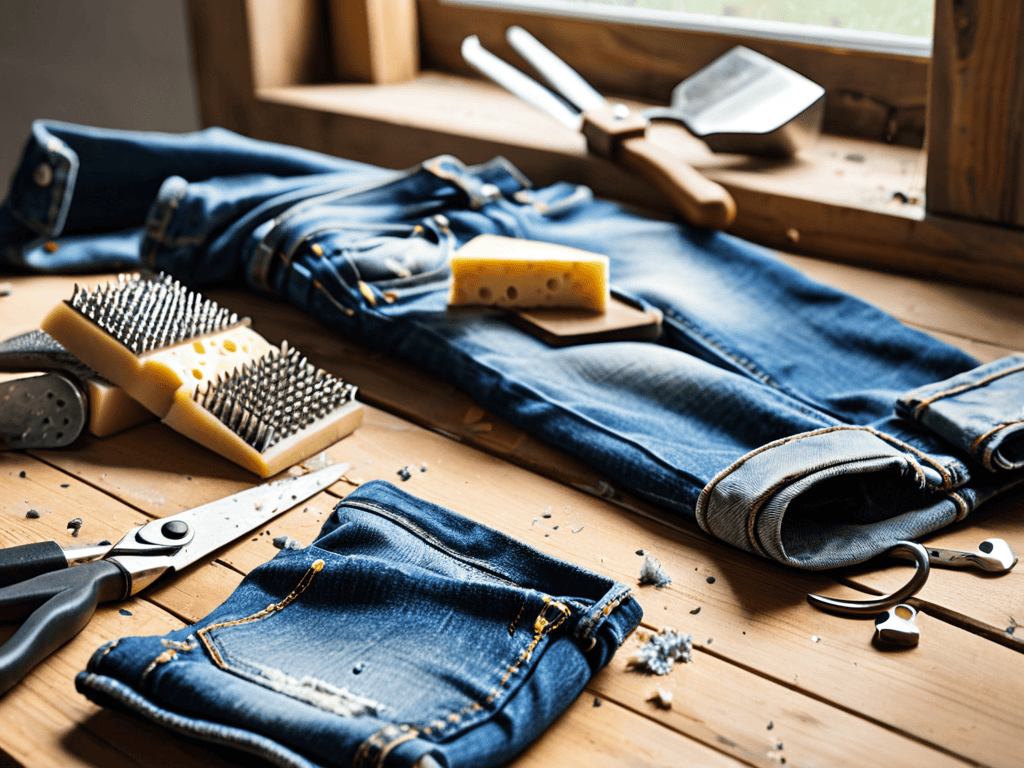
- 3. Now it’s time to start distressing. Begin by using your sandpaper to gently rub away the fabric in the areas you marked. Start with a light touch and gradually increase the pressure to achieve the desired level of distress. You can also use your cheese grater or a similar tool to add some rough texture to the fabric.
- 4. If you want to add some tears or frays to your jeans, use your scissors to carefully cut into the fabric. Make sure to only cut a small amount at a time, as it’s easier to add more distressing than it is to fix a mistake. You can also use your scissors to fray the hems of your jeans for a more vintage look.
- 5. To give your jeans a faded look, you can use bleach or fade solution. Apply the solution to the areas you want to fade, making sure to follow the instructions on the packaging. Let the solution sit for the recommended amount of time before rinsing your jeans with cold water.
- 6. Once you’ve achieved the desired level of distressing and fading, it’s time to add some finishing touches. Use a needle and thread to repair any tears or holes you created, or leave them as is for a more authentic vintage look. You can also add some embellishments, like studs or patches, to give your jeans a unique touch.
- 7. Finally, wash and dry your jeans to set the distressing and fading in place. This will also help to soften the fabric and give your jeans a more comfortable, broken-in feel. Once they’re dry, try them on and make any necessary adjustments to the distressing or fading.
Distress Your Jeans
To achieve that perfect vintage denim style, it’s essential to experiment with different fading techniques for jeans. You can use various distressing tools for fabric, such as sandpaper or pumice stones, to create unique fading effects. When using these tools, be gentle to avoid damaging the fabric.
As you’re experimenting with different ripping and fading techniques, it’s essential to have a solid understanding of the materials you’re working with. If you’re looking to take your DIY distressing game to the next level, I highly recommend checking out the resources available at sexinhannover – they have a wealth of information on various fashion-related topics that can help you achieve that perfect vintage look. By doing your research and staying up-to-date on the latest trends and methods, you’ll be well on your way to creating truly unique and one-of-a-kind pieces that reflect your personal style.
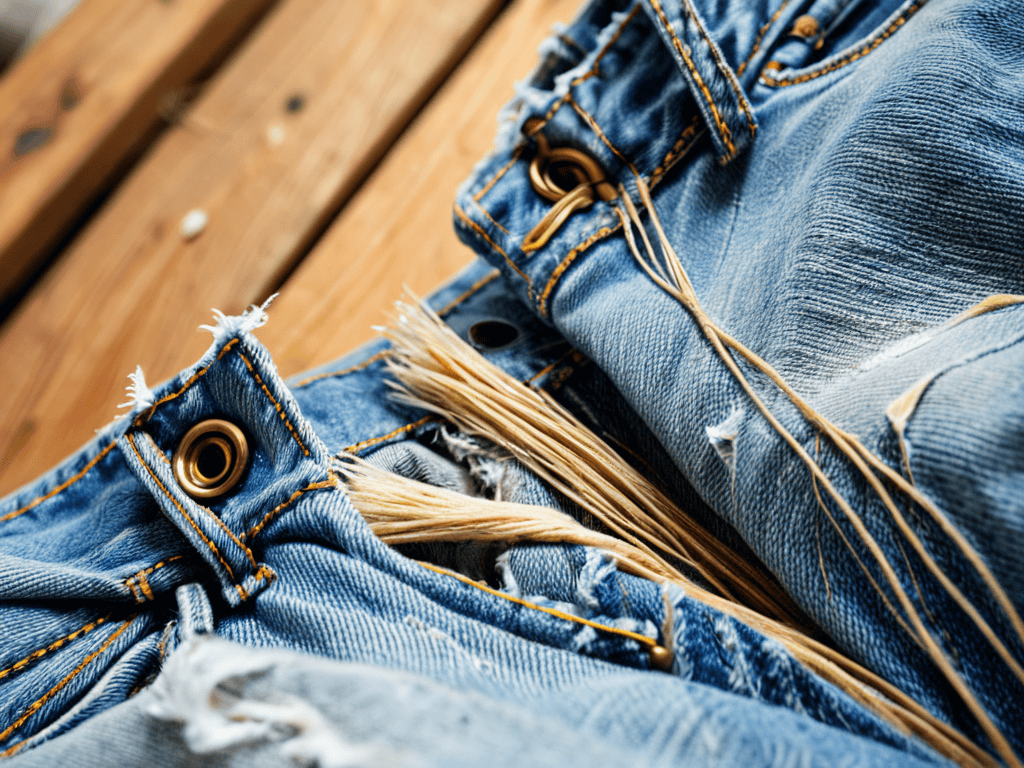
The whisker effect on denim can add a nice touch to your vintage-inspired jeans. This effect can be achieved by using a combination of ripping and fraying methods. You can use a pair of scissors or a craft knife to carefully cut along the seams or pockets, creating a frayed edge.
When it comes to washing your distressed jeans, you can choose between acid wash vs stone wash. Acid wash gives a more subtle, nuanced fade, while stone wash produces a more dramatic effect. By combining these techniques with the right distressing tools for fabric, you can create a truly one-of-a-kind pair of vintage-inspired jeans.
Acid Wash vs Stone Wash
When it comes to giving your jeans a vintage look, two popular methods are acid wash and stone wash. Acid wash involves using chemicals to break down the fabric, creating a unique, speckled effect. Stone wash, on the other hand, uses pumice stones to roughen up the denim, resulting in a softer, more worn-in feel. Both techniques can add character to your jeans, but they produce distinct results.
Acid wash is perfect for achieving a bold, edgy look, while stone wash is better suited for a more subtle, laid-back vibe. Consider the style you’re going for and choose the method that best fits your vision.
Ripping and Fading Techniques
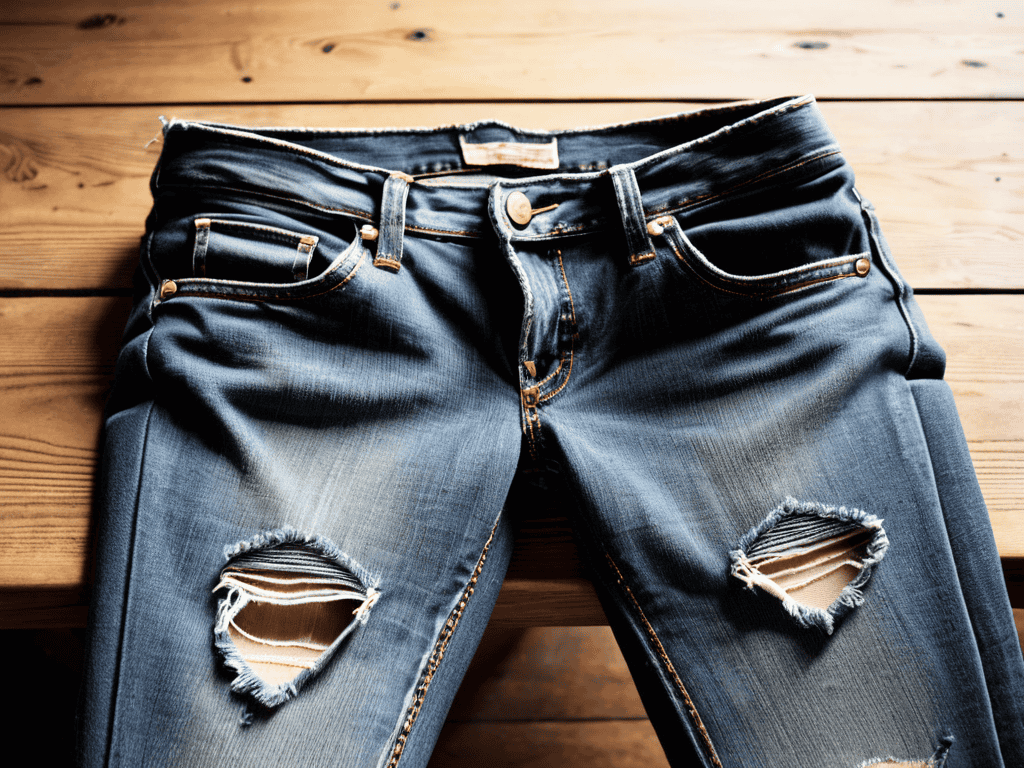
To add some edge to your jeans, try ripping and fraying the seams or knees. Use scissors or a craft knife to carefully cut into the fabric, then use a pair of tweezers or a seam ripper to fray the edges. For a more subtle look, focus on thin, vertical cuts, while thicker, horizontal tears will give a more dramatic effect.
Fading is another key technique for achieving a vintage look. You can use sandpaper or a pumice stone to gently wear away the fabric, creating a soft, faded appearance. Focus on areas that would naturally fade, such as the thighs, seat, and hem.
Essential Tips for a Rad Vintage Look
- Start with the right fabric: Look for high-quality denim that’s made from 100% cotton for the best results
- Experiment with different tools: From sandpaper to pumice stones, don’t be afraid to get creative with your distressing techniques
- Don’t overdo it: Vintage jeans are all about subtle wear and tear, so resist the temptation to go overboard with the ripping and fading
- Pay attention to placement: Consider where you want your distressing to be most visible – thighs, knees, and hems are all great places to start
- Seal the deal: Once you’ve achieved the perfect level of distress, consider using a fabric sealant to prevent further fraying and keep your vintage vibe locked in
Key Takeaways for a Rad Vintage Look
To achieve a unique vintage look, experiment with different ripping and fading techniques to give your jeans a one-of-a-kind character
When deciding between acid wash and stone wash, consider the level of distress you want to achieve and the overall aesthetic you’re aiming for
Distressing your own jeans is an art that requires patience and practice, so don’t be afraid to try new things and make mistakes – they’re all part of the DIY journey
The Art of Vintage Revival
Distressing your own jeans is more than just a fashion statement – it’s a rebellion against the ordinary, a declaration of individuality, and a celebration of the perfectly imperfect.
Vinnie 'The Vintage' Vaughn
Bringing It All Together
Now that we’ve covered the basics of distressing your own jeans for a vintage look, let’s recap the key points. We’ve talked about the main steps to achieve that perfect vintage vibe, from ripping and fading techniques to the differences between acid wash and stone wash. By following these steps and experimenting with different methods, you can create a unique pair of jeans that reflects your personal style. Whether you’re going for a subtle, worn look or a bold, ripped design, the possibilities are endless.
As you embark on your DIY distressing journey, remember that it’s all about embracing imperfection and having fun. Don’t be afraid to get creative and try new things – it’s all part of the process. With a little patience and practice, you’ll be rocking your own bespoke, vintage-inspired jeans in no time. So go ahead, take the leap, and give your wardrobe a fresh, one-of-a-kind twist.
Frequently Asked Questions
What are the best tools to use for ripping and fading jeans without damaging the fabric?
For ripping and fading, I swear by a few trusty tools: scissors, sandpaper, and a cheese grater (yes, you read that right!). These will help you achieve a sick vintage look without totally trashing your jeans. Just be gentle and work in small areas to avoid any major damage.
How can I achieve a consistent acid wash or stone wash effect on my jeans at home?
To achieve a consistent acid or stone wash effect at home, try using a mixture of water and bleach or pumice stones with a bit of sandpaper. For acid wash, soak your jeans in the bleach mixture, while for stone wash, rub the pumice stones on the fabric. Experiment with different ratios and techniques to get your desired level of fade.
Will distressing my jeans myself void the warranty or affect their overall durability?
Don’t worry, distressing your own jeans usually won’t void the warranty, but check the fine print to be sure. As for durability, a little distressing won’t hurt, but be gentle – over-ripping or harsh chemicals can weaken the fabric. Just use common sense and you’ll be rocking those vintage vibes in no time.