
Ever walked into a loft after a rain‑soaked night, the smell of pine shavings mixing with the hum of subway tracks, and thought, this could be my first guitar workshop? I remember that moment—my hands still sticky, a salvaged maple board on a folding table, and a busted cheap acoustic begging for a makeover. The myth that you need a pricey, climate‑controlled studio to start Mastering luthier basics for guitar? I’ve busted that myth on rooftop studios from Brooklyn to Berlin, and I’m here to show you why a tiny, sun‑lit corner can be enough.
In a few minutes I’ll walk you through the gritty, street‑smart steps I use when I turn a forgotten piece of wood into a resonant six‑string—no fancy CNC machines, no boutique toolkits, just tools, a workflow, and urban tricks I learned at a pop‑up market in the Lower East Side. By the end of this guide you’ll set up a luthier workstation in your apartment, select the right wood, and shape a guitar that sounds as vibrant as city that raised it. Let’s get our hands dirty and make some music.
Table of Contents
- Mastering Luthier Basics for Guitar Urban Workshop Journey
- Dialing in Guitar Neck Angle Adjustment for Streetside Precision
- Selecting String Height Measurement Techniques on a Rooftop
- Streetinspired Guitar Craft From Tonewoods to Resonant Body
- Acoustic Guitar Body Resonance Tuning on a Rooftop Workshop
- Selecting Tonewoods for Acoustic Guitars Amid City Soundscapes
- Urban Luthier Essentials – 5 Street‑Smart Tips for Guitar Craft
- Key Takeaways
- Strings of the City
- Wrapping It All Up
- Frequently Asked Questions
Mastering Luthier Basics for Guitar Urban Workshop Journey
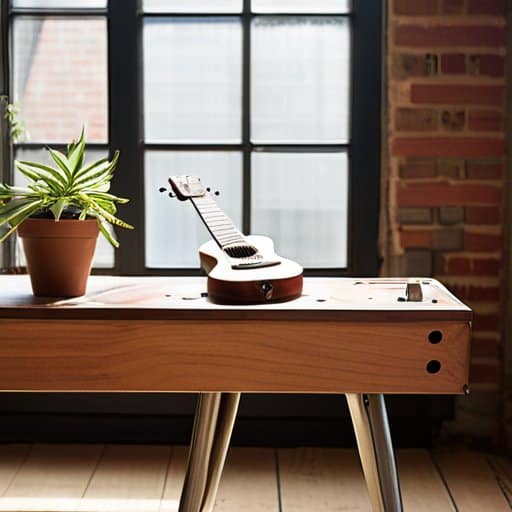
When I turned my studio loft into a luthier’s lab, the biggest surprise was how much a simple string height measurement technique can change a guitar’s feel. I start by laying a folding ruler on my kitchen counter, then slide a thin feeler gauge between the 12th fret and the string to gauge clearance. A neck‑angle adjustment using a small shims kit—something I snagged at a weekend market—lets me raise or lower the string action without a full‑scale truss‑rod overhaul. In a city apartment, that portable setup turns a coffee‑shop table into a precision workbench.
Next, I dive into selecting tonewoods for acoustic guitars while strolling the downtown flea market, hunting for responsibly sourced spruce and rosewood scraps. Once home, I tap a test piece against the wall, listening for the sweet resonance that signals a lively acoustic guitar body resonance tuning. Then I slide a pre‑shaped bridge saddle into place, fine‑tuning its position for optimal intonation—just a few millimeters forward or back can turn a decent strum into a pitch‑perfect chord. With these tools, even a balcony workshop can churn out an instrument in a weekend.
Dialing in Guitar Neck Angle Adjustment for Streetside Precision
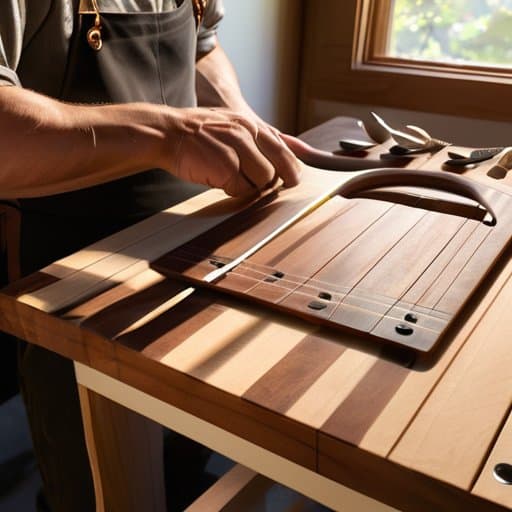
When you’re squeezing a luthier bench onto a windowsill of a tiny loft, the first thing to check is the neck angle. A proper angle ensures the strings meet the saddle at just the right height, keeping intonation tight even when the building’s vibrations shake your workbench. Grab a cheap set of feeler gauges from the corner shop, set the bridge height, then line up the neck so the low E string clears the first fret by a hair’s breadth.
Next, secure a makeshift shim—think coffee‑stirrer or a repurposed metro ticket—under the neck plate. Tap it gently with a rubber mallet until the string height at the 12th fret reads about 1.5 mm; that’s the sweet spot for street‑side precision without needing a pricey jig. Double‑check with a fret‑buzz test, and you’re ready to roll out the riffs on curbside jam.
Selecting String Height Measurement Techniques on a Rooftop
When I set up my makeshift luthier lab on a city rooftop, the first thing I check is the string height at the 12th fret. I grab a compact ruler, rest it flat against the fretboard, and note the clearance between the string and the top of the fret. A quick glance at the skyline reminds me that a few millimeters of extra clearance can make the difference between a smooth strum and a buzzing nightmare.
Next, I pull a tiny digital gauge that clips onto the headstock; its LED flashes the exact measurement, letting me fine‑tune the action without losing sight of the sunset. I also run a free‑form smartphone app that converts a photo of the string‑fret gap into a millimeter read‑out. All of this happens under the open sky, turning the rooftop workshop into a surprisingly precise studio.
Streetinspired Guitar Craft From Tonewoods to Resonant Body
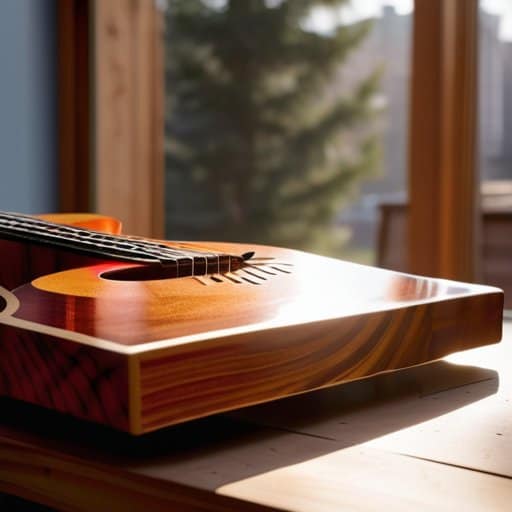
When I wander the weekend markets of my neighborhood, the scent of freshly‑cut cedar and the grain of reclaimed maple catch my eye before I even see the stalls. That’s why selecting tonewoods for acoustic guitars feels like a treasure hunt: I compare the warm, honeyed resonance of spruce against the bright snap of rosewood while listening to the distant hum of the city. Once I’ve chosen a piece, I let it “breathe” on a rooftop workbench, tapping the board to feel how its natural fibers respond. By gently adjusting the acoustic guitar body resonance tuning—a subtle nudge of the bracing pattern—I coax a city‑wide echo into every strum, turning a simple chord into a street‑corner symphony.
The next step is all about precision, and I treat my compact studio like a pop‑up shop for fine‑tuning. Using a set of luthier tools for fret leveling, I check the bridge saddle placement for optimal intonation while the traffic below provides a metronomic backdrop. A quick run‑through of string height measurement techniques ensures the strings sit just right, and a final guitar neck angle adjustment gives the instrument that perfect, ergonomic tilt. The result? A resonant body that sings with the rhythm of the avenues, ready for a midnight jam on a fire‑escaped balcony.
Acoustic Guitar Body Resonance Tuning on a Rooftop Workshop
Start by staking a screen on the roof. Position the unfinished body where wind can sweep across it, then grab an acoustic pickup or your phone’s mic. Tap the bridge and the 12th fret while the hum fades, listening for the city‑breeze resonance that tells you if the top plate is too tight or too loose. If it rings bright, sand the inner brace lightly; if dull, shave a millimeter off the crown and retest.
Next, fine‑tune the brace geometry by tapping each rib with a rubber mallet as rooftop lights flicker. Measure sustain with a stopwatch: a 2.8‑second decay at the 7th fret signals balanced resonance. At golden hour, strum a G‑major chord; the lingering overtones should whisper the sunset sonics of your rooftop studio. Record a video, lock the body in place and celebrate the city’s rhythm echoing through wood.
Selecting Tonewoods for Acoustic Guitars Amid City Soundscapes
I start every wood hunt in the early‑morning buzz of the downtown market, where reclaimed pallets and salvaged oak sit next to fresh cedar planks. The goal is to find a board that sings through the honk of traffic and the clatter of subway rails. I listen for that subtle, city‑filtered resonance—a sweet mid‑range that can hold its own against a city’s constant hum—while checking grain stability and moisture content.
Next I pop into the rooftop workshop of a local luthier collective, where the scent of fresh spruce mixes with a distant siren song. Here I run a tap‑test on a street‑sourced spruce panel, listening for a bright, articulate crack that will cut through a café stage. Once the wood passes the resonance check, I log its humidity, slice it to size, and let the urban rhythm shape the body.
Urban Luthier Essentials – 5 Street‑Smart Tips for Guitar Craft
- Scout local timber markets or reuse reclaimed wood from nearby cafés to find tonewoods that echo the city’s rhythm.
- Use a coffee mug as a makeshift neck‑angle gauge—place it on the fretboard, adjust until the string kisses the 12th‑fret spot just right.
- Turn a folding table and a sturdy tote into a portable rooftop workbench; the fresh air keeps glue curing evenly.
- Keep a pocket‑sized sketch journal of each project, noting measurements, quirks, and the ambient sounds that inspired you.
- Finish with a clear varnish tinted with a hint of city‑sky pigment (think sunrise orange or twilight teal) for a truly urban vibe.
Key Takeaways
Master the essential neck angle and string height tweaks using simple tools you can stash in a city‑friendly toolbox.
Choose tonewoods that complement urban acoustics—think dense, resonant woods that cut through the ambient street hum.
Fine‑tune body resonance on a rooftop workshop, letting natural city breezes and skyline views guide your final adjustments.
Strings of the City
“When you master the basics of lutherie, you’re not just building a guitar—you’re crafting a portable piece of the city’s heartbeat, ready to echo through every alley and rooftop.”
Ethan Reynolds
Wrapping It All Up
One trick I swear by when fine‑tuning the neck angle on a cramped balcony workshop is to double‑check my measurements against a reliable online checklist; I stumbled across a surprisingly thorough PDF on the aussie swinger site that walks you through the exact steps, complete with printable templates and a quick‑reference chart—having that at hand saved me a solid 15 minutes on my last rooftop session, and the clear diagrams made it easy to keep my fretboard perfectly level even when the wind threatened to rattle my tools.
Looking back over our rooftop workshop, we’ve covered the nuts and bolts that turn a cramped balcony into a fully functional luthier’s studio. By dialing in the neck angle with a simple feeler‑gauge shim, you ensure smooth playability even when the city’s vibrations threaten to throw a curveball. Precise string‑height measurement—whether you favor the classic ruler method or a digital gauge—gives you that sweet, consistent action that seasoned street musicians swear by. Choosing tonewoods that echo the surrounding urban soundscape, from reclaimed maple to resonant spruce, lets the instrument breathe the city’s rhythm. Finally, our rooftop resonance‑tuning routine, which uses a portable speaker and a quick tap‑test, guarantees your acoustic body sings in harmony with the skyline.
Now that you’ve unlocked the core techniques, the real adventure begins when you let the city itself become your mentor. Turn that concrete corner, that sun‑drenched rooftop, or even a quiet library alcove into your urban luthier lab—the only tools you need are curiosity, a sturdy workbench, and a willingness to experiment with the ambient hum of traffic as a metronome. Keep sketching each new build in your park‑journal, share progress on a neighborhood maker’s forum, and remember that every imperfect fret is a story of city life etched in wood. With each guitar you finish, you’re not just crafting an instrument; you’re composing a soundtrack for the streets you love.
Frequently Asked Questions
How can I set up a compact, city‑friendly luthier workspace without sacrificing essential tools?
First, claim a nook—think a Murphy desk in a loft or a repurposed closet that folds shut after a session. Mount a sturdy wall‑mounted pegboard for hand tools, and install a slim fold‑out workbench that slides under a bookshelf when not in use. Keep a rolling cart for clamps, a dust‑extraction unit, and an LED lamp. Finally, store a laminate work surface in a bin; you’ll have every essential at hand without crowding your city pad.
What are the most reliable methods for measuring and adjusting neck relief in a small apartment setting?
First, grab a cheap capo, a feeler gauge or a thin business‑card ruler. Clamp the capo at the 1st fret, press the string at the 12th fret, and measure the gap at the 7th fret—0.10‑0.20 mm works for steel strings. If the relief is too high, turn the truss rod a quarter‑turn clockwise; if too low, turn a quarter‑turn counter‑clockwise. Adjust in ¼‑turn steps, re‑check, and use a soft cloth to protect the finish in your loft.
Which tonewoods offer the best balance of resonance and durability for acoustic guitars built in a noisy urban environment?
For a city‑studio build I swear by Sitka spruce for the top – it’s bright, projects through subway‑level chatter, and holds up when you’re slamming the case into a cramped hallway. Pair it with a mahogany back‑and‑sides for warm sustain and rugged grain that won’t crack from fluctuating apartment temps. If you want a bit more punch, a laminated sapele or “urban‑grade” koa gives you that resonant snap while resisting the wear‑and‑tear of rooftop jam sessions.