
I still remember the first time I worked with Polymer Clay Canes – it was like unlocking a treasure trove of creative possibilities. I had heard that they were incredibly difficult to work with, but I was determined to master them. As it turns out, the rumors were completely unfounded, and I’ve been hooked ever since. The versatility of Polymer Clay Canes is truly endless, and I’ve spent countless hours experimenting with different techniques and designs.
In this article, I’ll be sharing my hands-on experience with Polymer Clay Canes, including tips and tricks for getting started, common mistakes to avoid, and practical advice for creating stunning pieces. You’ll learn how to condition, mix, and shape your clay to achieve the desired effects, as well as how to troubleshoot common issues that may arise. Whether you’re a seasoned crafter or just starting out, this guide will provide you with the confidence and skills needed to unleash your creativity and take your Polymer Clay Cane projects to the next level.
Table of Contents
Project Overview
Total Time: 2 hours 30 minutes
Estimated Cost: $20 – $40
Difficulty Level: Intermediate
Tools Required
- Pasta Machine ((for conditioning and rolling out clay))
- Sharp Utility Knife ((with extra blades))
- Shaping Tools ((e.g., toothpicks, skewers, modeling tools))
- Work Surface ((e.g., wax paper, glass, or a marble slab))
Supplies & Materials
- Polymer Clay ((various colors))
- Clay Shaping Aids ((e.g., clay softener, mold release))
- Oven ((for curing clay at 265 degrees Fahrenheit))
- Baking Sheet ((lined with parchment paper, 9 inches x 13 inches))
Step-by-Step Instructions
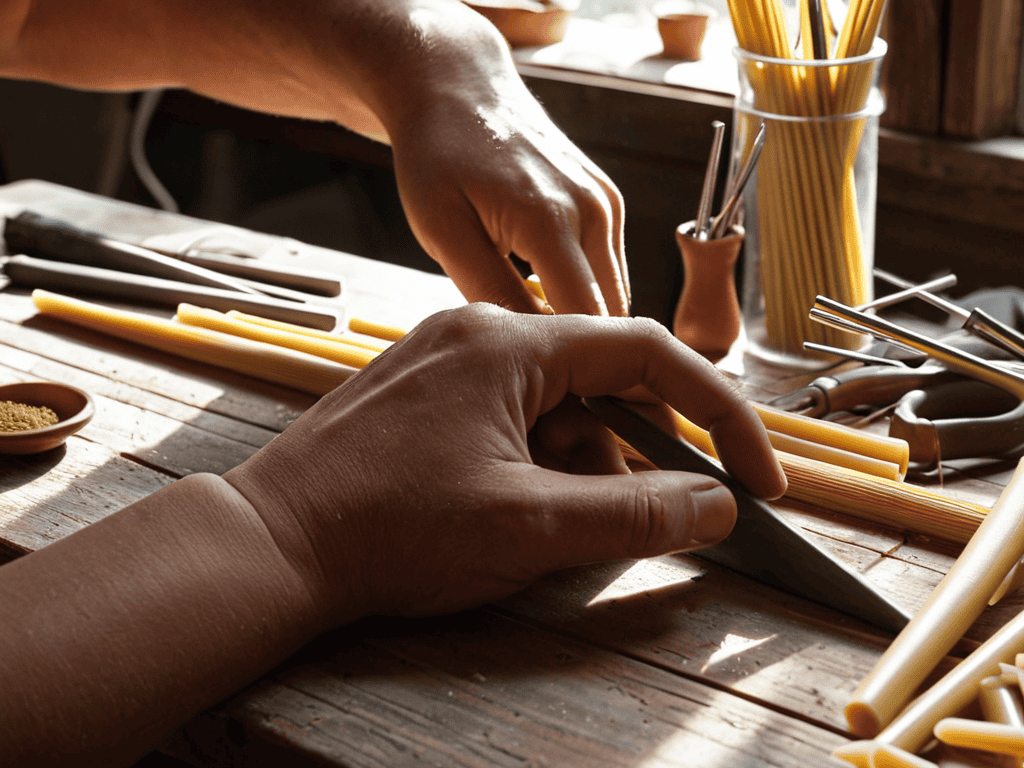
- 1. First, let’s start by preparing our workspace, which includes covering our work surface with parchment paper or a silicone mat to prevent any clay from sticking to it. This will make the cleanup process much easier and give us a smooth foundation to work on.
- 2. Next, we need to condition our polymer clay by kneading it until it becomes soft and pliable. This step is crucial as it helps to remove any air pockets within the clay and makes it easier to work with. We can also add a few drops of clay softener or mineral oil to help with the conditioning process.
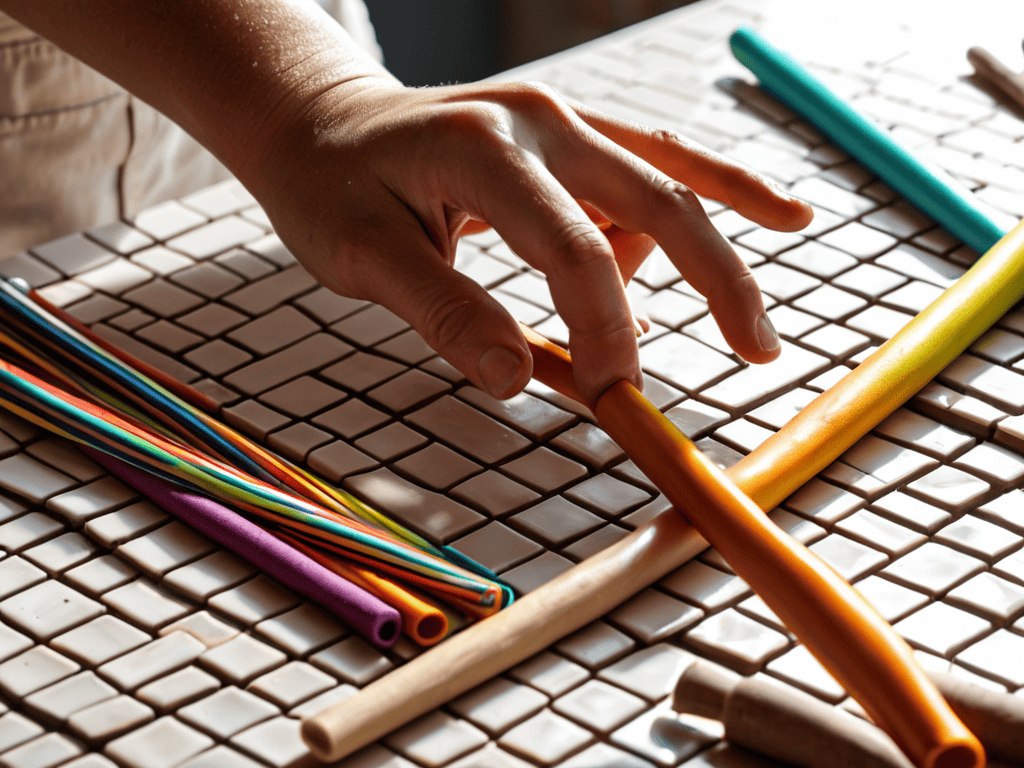
- 3. Now, let’s move on to creating the color palette for our polymer clay cane. We can choose any colors we like, but it’s essential to consider the color theory and how the different hues will interact with each other. We can mix and match different colors to create unique shades and tones, and it’s always a good idea to test the colors on a small scale before committing to a large project.
- 4. With our colors ready, it’s time to start building the cane. We begin by rolling out a small amount of clay into a thin sheet, which will serve as the base of our cane. Then, we can start adding the different colors, rolling and folding the clay to create the desired pattern.
- 5. As we continue to build the cane, it’s essential to maintain even pressure to ensure that the clay is compressed uniformly. This will help to prevent any air pockets from forming and give our cane a smooth, consistent texture. We can use a pasta machine or a rolling pin to help achieve an even thickness.
- 6. Once we’ve achieved the desired pattern and size, it’s time to refine the edges of our cane. We can use a sharp knife or a clay shaper to trim the edges and create a smooth, rounded finish. This step is crucial as it will help to prevent the cane from cracking or breaking when it’s baked.
- 7. Finally, we need to bake our cane in a preheated oven at the recommended temperature. It’s essential to follow the manufacturer’s instructions for baking time and temperature to ensure that our cane is fully cured and durable. Once the cane is baked, we can allow it to cool before using it in our craft projects.
Polymer Clay Canes

When working with these versatile tools, it’s essential to master polymer clay conditioning techniques to achieve the perfect consistency for creating intricate designs. This involves understanding how to mix and blend different colors to create unique patterns, such as color mixing for millefiori patterns. By doing so, you can unlock a world of creative possibilities and take your craft to the next level.
To create complex designs, cane reduction methods are crucial for achieving intricate details. This involves carefully reducing the size of the cane to fit into smaller spaces, allowing for more elaborate patterns. It’s also important to consider tips for achieving uniform cane slices, as this can make a significant difference in the overall appearance of your finished piece.
In addition to technique, the choice of polymer clay brand can also impact your results. Some brands are better suited for caning than others, so it’s worth exploring polymer clay brand comparisons to find the one that works best for you. By combining the right techniques with the right materials, you can create truly stunning pieces that showcase your skill and creativity.
Color Mixing for Millefiori
When it comes to creating stunning millefiori patterns, color mixing is an art form. I love experimenting with different hues to achieve unique and intricate designs. By combining complementary colors, you can create a beautiful contrast that adds depth to your polymer clay canes. For example, mixing turquoise and coral can produce a gorgeous, swirly pattern that’s perfect for adding a pop of color to your designs.
To take your color mixing to the next level, try layering translucent and opaque colors to achieve a sense of dimension. This technique allows you to build up complex, multi-colored patterns that seem to shift and shine as you turn the cane. With a little practice and patience, you’ll be able to craft polymer clay canes that are truly one-of-a-kind.
Mastering Conditioning Techniques
To get the most out of your polymer clay canes, it’s essential to master conditioning techniques. I’ve found that taking the time to properly condition my clay makes all the difference in the final result. It’s all about getting the clay to the right consistency – not too soft, not too hard. When it’s just right, it’s a joy to work with.
I like to think of conditioning as a way to wake up the clay, getting it ready to be shaped and molded into whatever creation I have in mind. By kneading and folding the clay, I can remove any air pockets and ensure it’s evenly colored and textured. This step may seem simple, but trust me, it’s crucial for achieving professional-looking results with your polymer clay canes.
Rolling Out the Essentials: 5 Key Tips for Working with Polymer Clay Canes
- Start with a clean slate: Always ensure your workspace is clean and dry before beginning to work with polymer clay canes to prevent dust and moisture from affecting the clay
- Conditioning is key: Make sure to condition your polymer clay thoroughly before creating canes to achieve the best results and prevent cracking
- Keep it cool: Work in a cool, well-ventilated area to prevent the clay from becoming too soft or sticky, making it easier to handle and shape
- Experiment with layers: Don’t be afraid to try out different layering techniques when creating your polymer clay canes – this can lead to some amazing, unique patterns and designs
- Practice makes perfect: Don’t get discouraged if your first few attempts at creating polymer clay canes don’t turn out as expected – keep trying and you’ll soon get the hang of it
Key Takeaways for Working with Polymer Clay Canes
I’ve found that mastering the art of conditioning polymer clay is crucial for achieving vibrant, consistent colors and patterns in my canes
Experimenting with different color mixing techniques has allowed me to unlock a wide range of unique, millefiori-inspired designs that add an extra layer of depth to my crafts
By embracing the creative freedom of polymer clay canes, I’ve been able to push the boundaries of my art and discover new, exciting ways to express myself through this versatile medium
The Heart of Creativity
Polymer clay canes are more than just a tool, they’re a gateway to unlocking the hidden patterns and colors within us, waiting to be set free in a swirl of creativity and imagination.
Lily Green
Conclusion
As I continue to experiment with polymer clay canes, I’ve found that having a community to share ideas and inspiration with is incredibly valuable. That’s why I always recommend checking out online forums and platforms where artists can connect and showcase their work – it’s amazing to see what others are creating and can be a great way to stay motivated and learn new techniques. For those looking to take their art to the next level, exploring different online resources can be really helpful, such as visiting sex classifieds to discover new and exciting opportunities, and I’ve found that exploring different perspectives can be a great way to find fresh inspiration and ideas to incorporate into your own work.
As we’ve explored the world of polymer clay canes, it’s clear that mastering the basics is essential to unlocking their full potential. From conditioning techniques to color mixing for millefiori, each step plays a crucial role in creating stunning, one-of-a-kind pieces. By following the steps outlined in this guide, you’ll be well on your way to bringing your unique vision to life with polymer clay canes.
So, what’s next? As you continue to experiment and push the boundaries of what’s possible with polymer clay canes, remember to let your imagination run wild. Don’t be afraid to try new things, take risks, and embrace the unexpected – it’s often the happiest accidents that lead to the most incredible discoveries. With patience, practice, and a willingness to learn, you’ll be creating breathtaking works of art that inspire and delight.
Frequently Asked Questions
What are some common mistakes to avoid when creating polymer clay canes?
When creating polymer clay canes, I’ve learned to avoid uneven mixing, which can lead to unexpected colors and textures. Also, don’t overwork the clay, as it can cause breakage and distortion. And, please, don’t skip the conditioning step – it’s crucial for achieving a smooth, pliable consistency that’s essential for successful cane-making!
How do I achieve consistent patterns and colors in my millefiori canes?
To achieve consistent patterns and colors, I swear by maintaining a detailed log of my color recipes and techniques. It’s also essential to work in a well-lit space and use a consistent temperature for baking the clay.
Can I mix different brands of polymer clay to create unique cane designs?
I love experimenting with different brands of polymer clay to create one-of-a-kind cane designs. While it’s generally okay to mix brands, keep in mind that some may have varying baking temperatures or clay consistencies, which could affect the final result. Just be sure to test a small sample first to ensure they play nicely together.