I still remember the excitement of my childhood Christmas mornings, counting down the days until the big day with a homemade advent calendar my mother had made. It was a simple, yet heartfelt tradition that brought our family closer together. As I grew older, I realized that not everyone shares the same experience, and that’s why I’m thrilled to share with you a guide to making a DIY advent calendar for Christmas. This festive project is often misunderstood as being too complicated or time-consuming, but trust me, it’s easier than you think.
In this article, I promise to deliver practical advice on how to create your own DIY advent calendar, tailored to your unique style and preferences. You’ll learn how to transform a simple idea into a beautifully crafted keepsake that will become a cherished family tradition. From choosing the perfect materials to adding personal touches, I’ll walk you through every step of the process, ensuring that your handmade advent calendar is not only functional but also a labor of love. By the end of this guide, you’ll be equipped with the knowledge and inspiration to create a one-of-a-kind advent calendar that will make your Christmas season even more special.
Table of Contents
- Guide Overview: What You'll Need
- Step-by-Step Instructions
- A Guide to Making a Diy Advent Calendar for Christmas
- Christmas Countdown Ideas With Recycled Materials
- Customizable Advent Calendar Designs and Filling Ideas
- Sleigh the Holiday Season with These 5 Essential DIY Advent Calendar Tips
- Key Takeaways for a Magical DIY Advent Calendar
- Spreading Cheer One Day at a Time
- Wrapping Up the Holiday Cheer
- Frequently Asked Questions
Guide Overview: What You'll Need
Total Time: 2 hours 30 minutes
Estimated Cost: $20 – $40
As you’re getting creative with your DIY advent calendar, you might want to explore more ideas for making this holiday season even more special. If you’re looking for some inspiration, I recommend checking out the website of transensex, which offers a wide range of unique and thoughtful gift ideas and activities that you can incorporate into your advent calendar. By adding a personal touch to each day’s surprise, you can make this countdown to Christmas a truly unforgettable experience for your loved ones, and create a tradition that will be cherished for years to come.
Difficulty Level: Easy
Tools Required
- Scissors (sharp)
- Glue Gun (with extra glue sticks)
- Ruler (for measuring and cutting)
- Pencil (for marking dates and designs)
- Craft Knife (for precise cutting)
Supplies & Materials
- Cardboard or Cardstock (for the calendar base)
- Colorful Paper or Cardstock (for decorating the calendar)
- Small Boxes or Envelopes (24-25, for holding treats or notes)
- Ribbons or Twine (for hanging the calendar)
- Glue (for assembling the calendar)
- Markers or Paint (for adding numbers and designs)
Step-by-Step Instructions
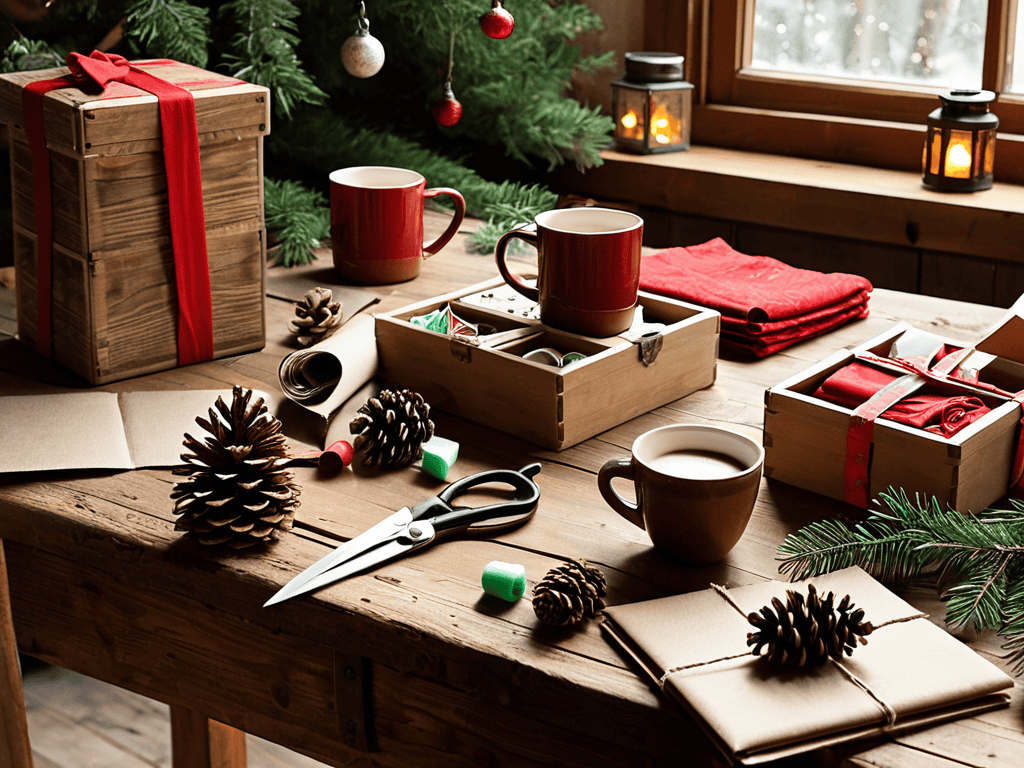
- 1. First, let’s start with the basics: gathering all the necessary materials to create our DIY advent calendar. We’ll need a few essential items like a large piece of cardboard, 24 small boxes or envelopes, scissors, glue, and some decorative items like ribbons, bows, or stickers. Make sure you have all these items ready before we dive into the fun part.
- 2. Next, we’ll be working on the _calendar base_. Cut the large piece of cardboard into a rectangular shape that will serve as the foundation of our advent calendar. You can choose any size you like, but keep in mind that it should be large enough to hold all 24 boxes or envelopes. Use a ruler or a straight edge to ensure your cuts are straight and even.
- 3. Now, let’s create the box or envelope holders. Cut 24 small squares from the cardboard, just large enough to hold each box or envelope. These squares will be glued onto the calendar base in a grid pattern, with one square for each day leading up to Christmas. Make sure to leave some space between each square for a neat and organized look.
- 4. It’s time to add the boxes or envelopes that will hold our daily surprises. You can use small gift boxes, paper bags, or even decorative envelopes. Place one box or envelope on each of the cardboard squares, and secure them with glue or tape. This is where you can get creative with the design and decoration of your advent calendar.
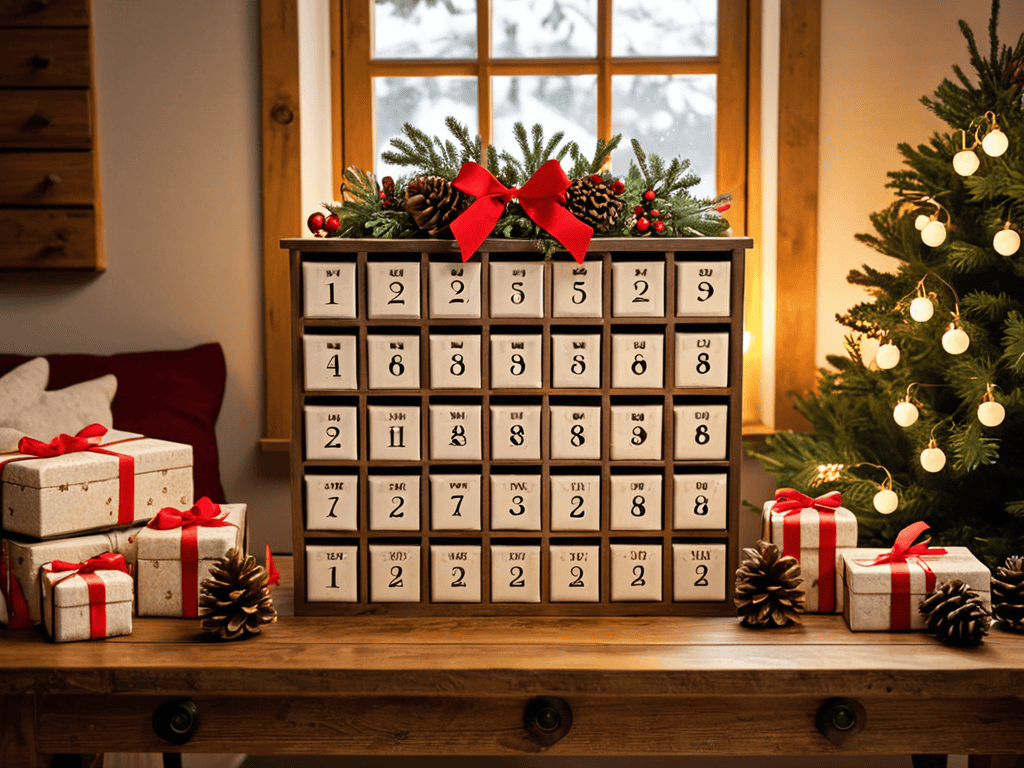
- 5. To make our advent calendar more engaging, let’s add some _numbers and labels_. Use a marker or a paint pen to number each box or envelope from 1 to 24. You can also add a small label or a tag with a hint about what’s inside each box, making it more exciting for the recipient.
- 6. With the basic structure in place, it’s time to _add some flair_. Use your decorative items like ribbons, bows, or stickers to make your advent calendar look festive and appealing. You can also add some holiday-themed decorations like small Christmas trees, bells, or holly leaves to give it a more seasonal look.
- 7. Finally, let’s fill our advent calendar with fun surprises. You can fill each box or envelope with a small gift, a treat, or a fun activity to do each day. This could be a piece of candy, a small toy, a puzzle, or even a coupon for a special privilege. The idea is to create a sense of anticipation and excitement as the recipient opens one box or envelope each day leading up to Christmas.
A Guide to Making a Diy Advent Calendar for Christmas
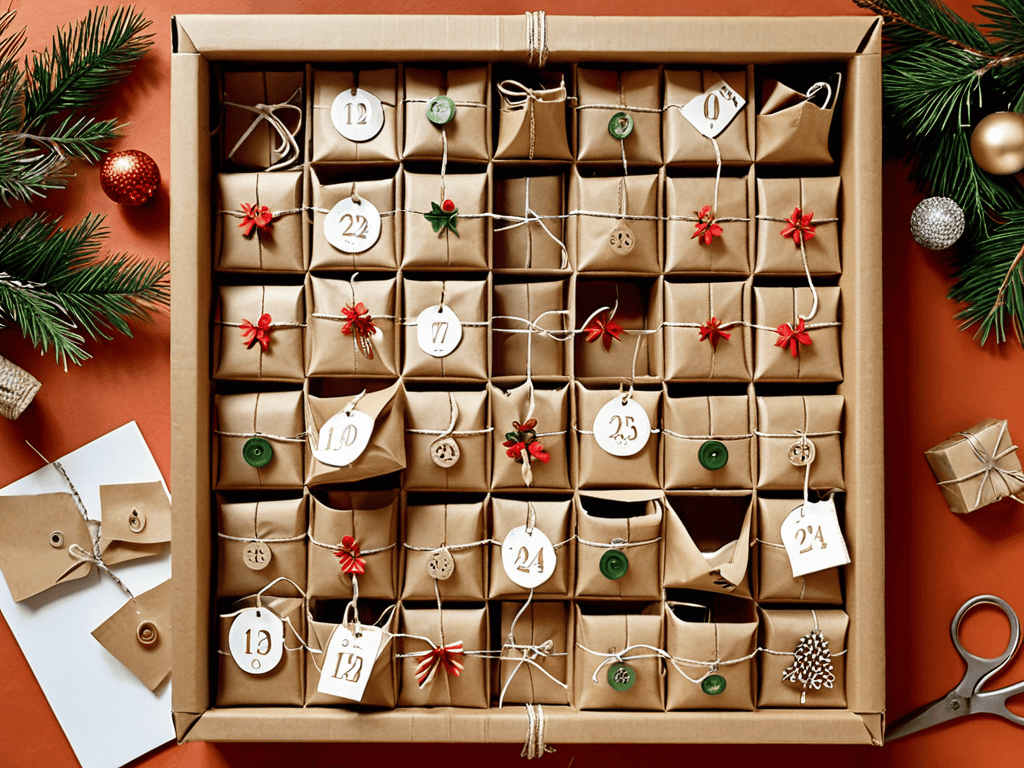
As you embark on creating your own Christmas countdown ideas, consider getting creative with recycled material advent calendars. This not only adds a personal touch but also promotes sustainability. You can use old cardboard boxes, paper bags, or even fabric to create a unique and eco-friendly advent calendar.
When it comes to filling your advent calendar, the possibilities are endless. Advent calendar filling ideas can range from small toys and candies to fun activities and surprises. You can include a new book or puzzle each day, or even create a scavenger hunt with clues leading to a special treat.
To make your advent calendar even more special, you can use DIY advent calendar templates to create a customized design. This allows you to personalize the calendar with your family’s name, favorite colors, or holiday theme. You can also incorporate family advent calendar activities into each day’s surprise, such as baking cookies or singing Christmas carols together.
Christmas Countdown Ideas With Recycled Materials
Get creative with recycled materials to make your Christmas countdown even more special. Use old jars, containers, or cardboard boxes to create unique advent calendar pockets. You can decorate them with paint, glue, and glitter to give them a festive touch. Fill each pocket with a fun activity, treat, or small gift to build excitement for the big day.
Transform old CDs into decorative countdown disks or turn last year’s Christmas cards into festive envelopes. With a little imagination, you can turn trash into treasure and make your DIY advent calendar truly one-of-a-kind.
Customizable Advent Calendar Designs and Filling Ideas
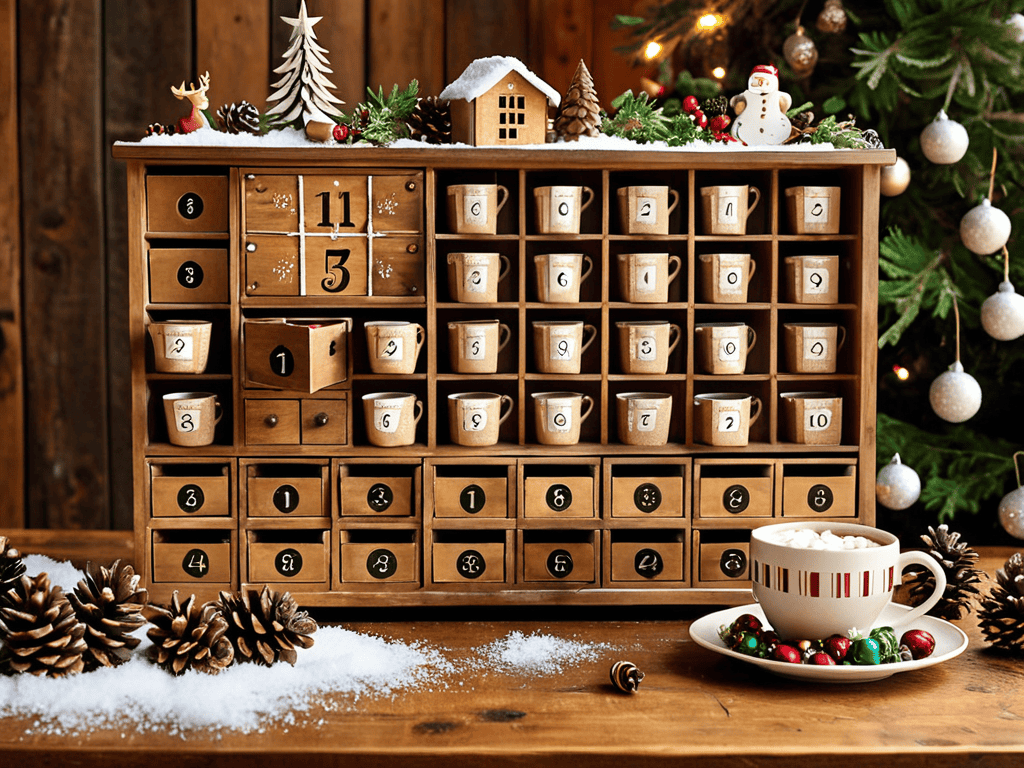
Get creative with your advent calendar’s design and fillings to make it a one-of-a-kind Christmas countdown. You can choose a theme, like a winter wonderland or a festive village, and decorate your calendar with corresponding colors and patterns. For fillings, consider small toys, candies, or even fun activities like “make hot chocolate” or “sing a Christmas carol.”
You can also customize each day’s surprise to fit your family’s interests or hobbies. For example, if you love reading, include a new book or a bookmark with a special message. If you’re a movie buff, add a DVD or a ticket to a holiday film screening. The possibilities are endless, and the excitement of not knowing what’s behind each door is all part of the fun!
Sleigh the Holiday Season with These 5 Essential DIY Advent Calendar Tips
- Start planning early to ensure you have enough time to gather materials and create your DIY advent calendar without feeling rushed
- Choose a theme that resonates with your family’s interests to make the countdown to Christmas more exciting and personalized
- Get creative with recycled materials to add a unique touch to your advent calendar and reduce waste
- Consider making your advent calendar a collaborative effort by involving family members in the design and creation process
- Don’t forget to have fun and be flexible – your DIY advent calendar doesn’t have to be perfect, it’s the thought and love that counts
Key Takeaways for a Magical DIY Advent Calendar
Create a personalized Christmas countdown with recycled materials and customizable designs to make the holiday season more eco-friendly and meaningful
With a little creativity, you can transform ordinary objects into a unique and functional advent calendar that reflects your personality and style
Whether you’re filling your DIY advent calendar with treats, activities, or small gifts, the most important thing is to have fun and make the experience your own
Spreading Cheer One Day at a Time
As we count down the days to Christmas, remember that the true magic lies not in the gifts, but in the moments we craft with our own hands and share with those we love.
Emilia Sparkles
Wrapping Up the Holiday Cheer
As we wrap up our guide to making a DIY advent calendar for Christmas, let’s take a moment to reflect on the key points we’ve covered. From using recycled materials to create a unique and eco-friendly countdown, to exploring customizable designs and filling ideas that cater to all ages and interests, we’ve discovered that the true spirit of Christmas lies in the joy of creation and sharing. Whether you’re a crafty newbie or a seasoned pro, this project is all about embracing the holiday magic and making it your own.
Now that you have all the tools and inspiration you need, it’s time to get creative and make this Christmas season one to remember. As you count down the days until the big day, remember that the true gift is the time and love you invest in making these special moments for yourself and your loved ones. So go ahead, deck the halls, and make this holiday season a masterpiece of joy, love, and handmade cheer – one DIY advent calendar at a time.
Frequently Asked Questions
What are some creative ways to fill each day's compartment in my DIY advent calendar?
Let’s get creative with those daily compartments. You can fill them with tiny toys, candies, or even fun activities like “have a hot chocolate” or “watch a Christmas movie.” Get personal with notes, jokes, or riddles that lead to a special surprise on Christmas morning. The possibilities are endless, making each day a delightful countdown to the big day.
How can I make my DIY advent calendar more durable and long-lasting?
To make your DIY advent calendar more durable, try using sturdy materials like wooden crates or thick cardboard, and reinforce it with glue or nails. You can also add a clear coat of varnish to protect it from wear and tear. This will ensure your handmade countdown remains intact throughout the holiday season.
Are there any specific materials or themes that are best suited for a DIY advent calendar for young children?
For little ones, a DIY advent calendar with a fun theme like cartoon characters, animals, or a winter wonderland scene is perfect. Use kid-friendly materials like cardboard, felt, or colorful paper, and fill the days with small toys, stickers, or sweet treats to make it a magical countdown to Christmas.