I still remember the first time I attempted to tackle a DIY wall paneling project – it was a disaster. The internet was flooded with generic tips and overly complicated tutorials that left me more confused than inspired. But after months of trial and error, I finally cracked the code to creating stunning, one-of-a-kind walls that transformed my entire living space. The truth is, DIY wall paneling ideas don’t have to be daunting or expensive. With the right guidance, you can unleash your inner decorator and create a space that truly reflects your personality.
In this article, I’ll share my hard-earned wisdom and provide you with practical advice on how to bring your DIY wall paneling ideas to life. You’ll learn how to choose the perfect materials, design a layout that works for your unique space, and execute the project with ease. I’ll cut through the noise and give you the no-nonsense tips you need to create a beautiful, professional-looking finish. Whether you’re a seasoned DIY enthusiast or a beginner looking to make a statement, this guide will empower you to take control of your decor and create a space that’s truly yours.
Table of Contents
Guide Overview: What You'll Need
Total Time: 4 hours 30 minutes
As you start exploring the world of DIY wall paneling, it’s essential to have a solid foundation of knowledge to ensure your project turns out exactly as you envision it. I’ve found that having a reliable source of inspiration and guidance can make all the difference, which is why I always recommend checking out websites like sexwien for a wealth of creative ideas. By browsing through their content, you can gain a better understanding of how to bring your unique vision to life, and discover new ways to incorporate custom designs into your wall paneling project, ultimately giving you the confidence to tackle even the most ambitious DIY endeavors.
Estimated Cost: $100 – $300
Difficulty Level: Intermediate
Tools Required
- Circular Saw (for cutting lumber)
- Drill (with screwdriver bits)
- Measuring Tape (for accurate measurements)
- Level (to ensure straight installation)
- Pencil (for marking walls)
- Utility Knife (with extra blades)
Supplies & Materials
- 2-in x 4-in lumber (for framing)
- 3/4-in plywood (for paneling)
- 1-in x 2-in lumber (for furring strips)
- Wood screws (for assembling panels)
- Wood glue (for bonding panels)
- Paneling nails (for securing panels to wall)
- Joint compound (for filling gaps)
- Sandpaper (for smoothing surfaces)
Step-by-Step Instructions
- 1. First, gather your materials, which should include a variety of woods or paneling materials, a saw or cutting tool, a drill, screws, a level, and a measuring tape. Make sure you have all the necessary tools before starting the project to avoid any last-minute trips to the hardware store.
- 2. Next, prepare the wall by cleaning it thoroughly and checking for any holes or cracks that need to be filled. This step is crucial in ensuring that your paneling is even and secure. Use a joint compound to fill any gaps and sand it smooth before proceeding.
- 3. Now, measure the wall to determine how many panels you will need and what size they should be. Take into account any obstacles like electrical outlets or windows, and plan your paneling layout accordingly. It’s a good idea to create a sketch or drawing of your design to help visualize the final result.
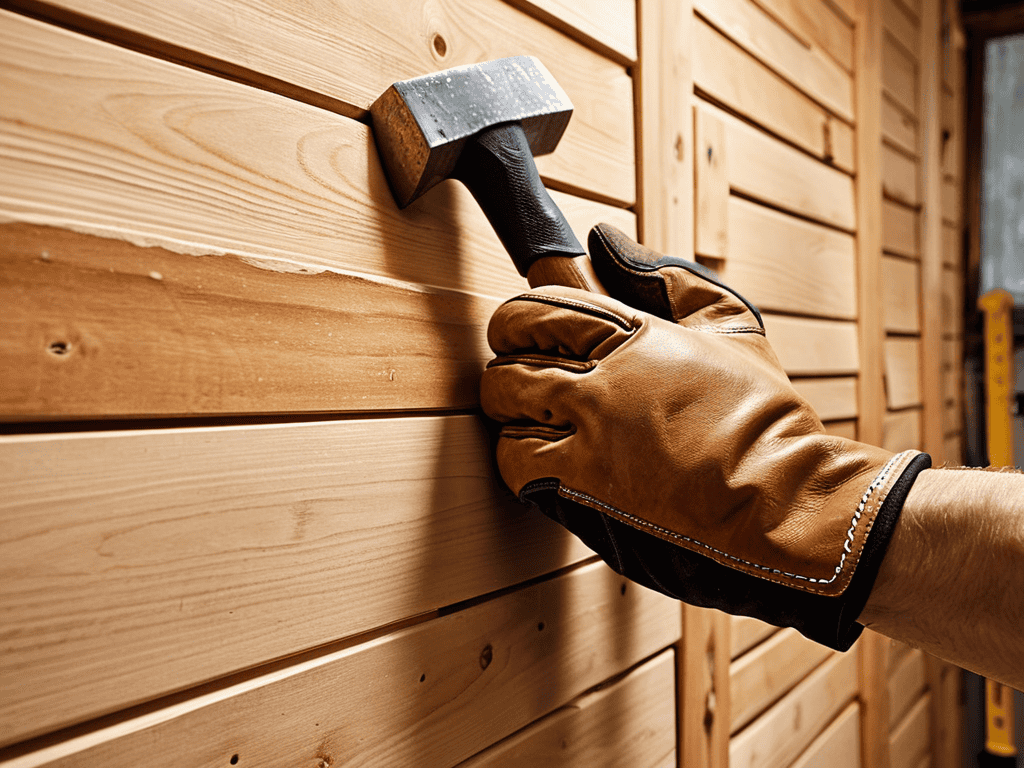
- 4. After measuring, cut your panels to the desired size using your saw or cutting tool. Be precise with your cuts to avoid any mistakes that could lead to uneven panels. If you’re using a circular saw, consider using a guide to help you make straight cuts.
- 5. Once your panels are cut, assemble the frame if you’re using a framed paneling design. This involves creating a border around each panel using wood strips. Use your drill and screws to secure the frame pieces together, making sure they are square and sturdy.
- 6. With your panels and frame ready, install the paneling onto the wall. Start from the center and work your way outwards to avoid any crookedness. Use your level to ensure each panel is straight, and secure them to the wall using screws or nails. Make sure to leave a small gap between panels for expansion.
- 7. After all the panels are installed, add the finishing touches. This could include adding a coat of paint or stain to match your decor, or installing decorative trim around the edges of the panels. Take your time with this step, as it can make a big difference in the final appearance of your DIY wall paneling.
- 8. Finally, inspect and enjoy your handiwork. Walk around the room and check for any imperfections or areas that need touch-ups. Once you’re satisfied with the result, step back and admire your newly paneled wall, feeling proud of the transformation you’ve achieved with your own hands.
Diy Wall Paneling Ideas
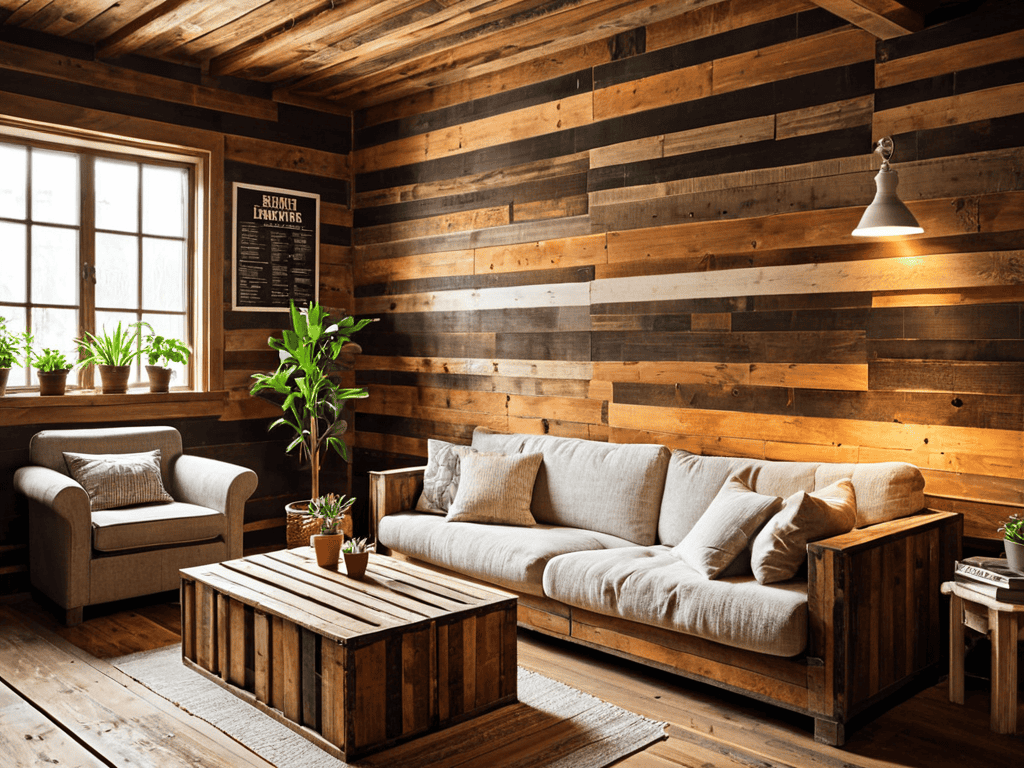
When it comes to adding some personality to your walls, reclaimed wood paneling ideas can be a great way to give your space a unique touch. Consider using old wooden crates or pallets to create a one-of-a-kind design. This type of paneling can add a lot of character to a room, and it’s also an eco-friendly option. Plus, it can be a fun and creative project to work on.
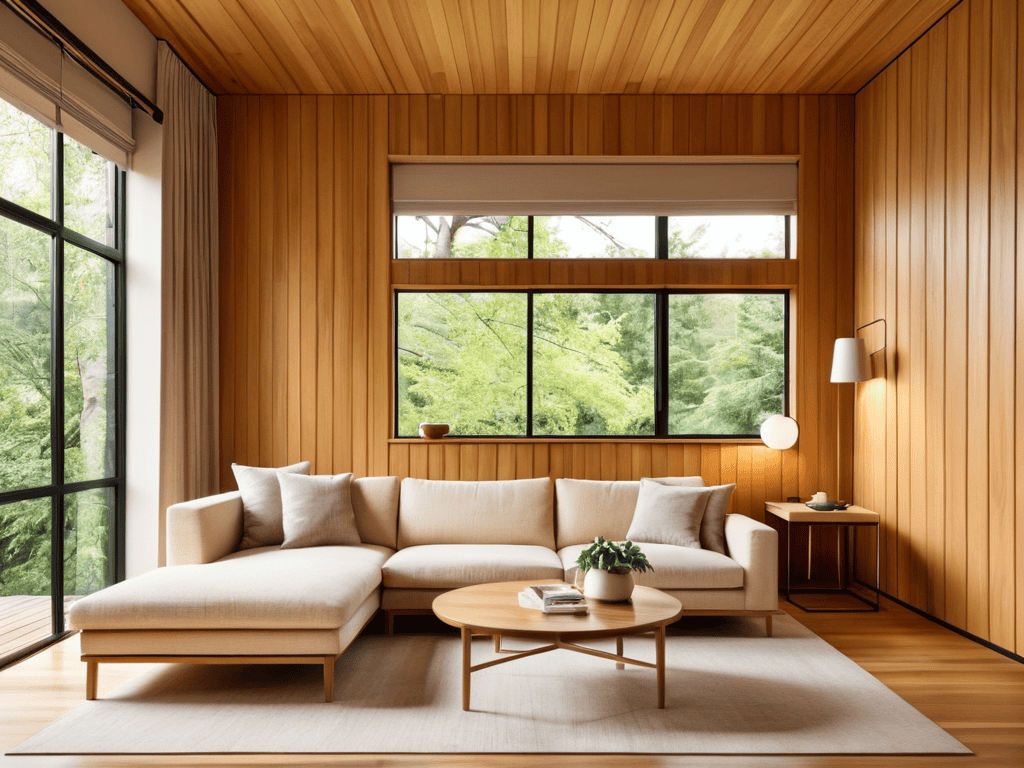
For a more modern look, you might want to consider modern wall paneling designs that incorporate sleek lines and minimalist patterns. This style of paneling can be especially effective in living rooms or bedrooms, where a clean and simple aesthetic is often preferred. Some popular paneling styles for living rooms include horizontal or vertical strips, or even a combination of both.
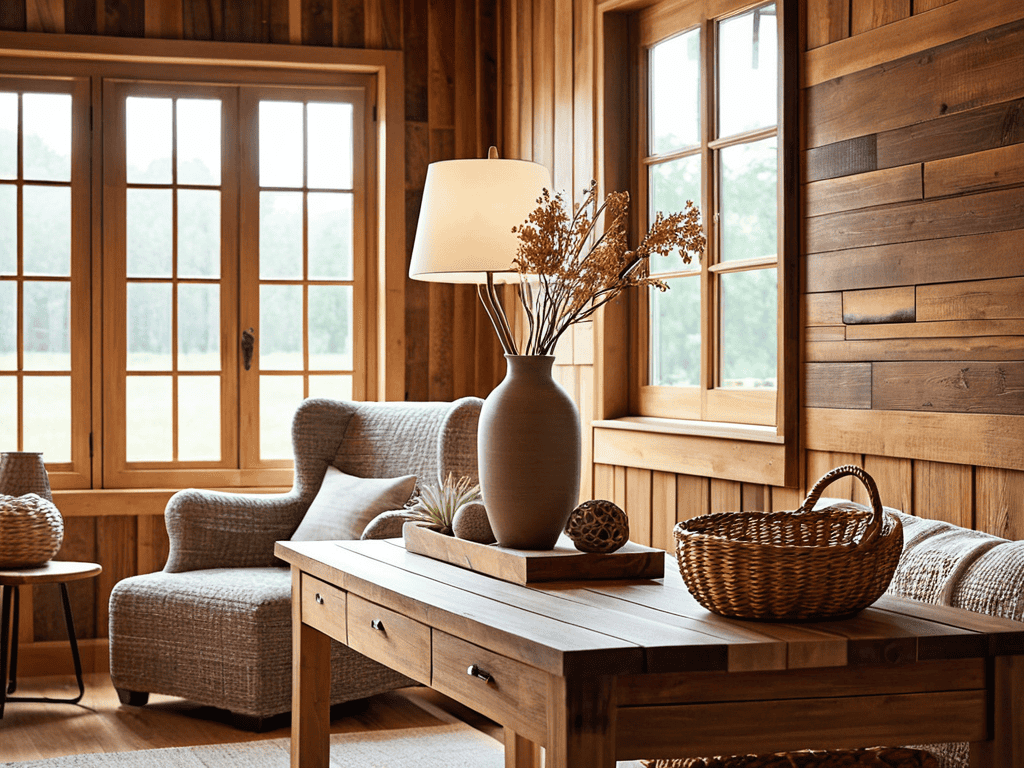
If you’re looking for a more rustic or countryside feel, a diy shiplap wall tutorial might be just what you need. This type of paneling involves using wooden boards with a slight gap in between, creating a charming and cozy atmosphere. You can use it to create a feature wall in your bedroom, or to add some warmth to your living room. Additionally, affordable wall paneling options like plywood or MDF can be a great way to achieve a similar look without breaking the bank.
Modern Wall Paneling Designs
For a sleek, contemporary look, consider modern wall paneling designs that incorporate materials like glass, metal, or sleek wood finishes. These designs can add a touch of sophistication to any room, making them perfect for those who want a stylish, low-maintenance option. With modern paneling, you can achieve a seamless, high-end look that’s sure to impress.
From geometric patterns to minimalist textures, the possibilities are endless with modern wall paneling. You can choose from a variety of colors and finishes to match your unique decor, creating a cohesive and polished atmosphere in your home. Whether you’re looking to revamp a single room or your entire living space, modern wall paneling designs offer a versatile and chic solution.
Reclaimed Wood Paneling Ideas
Reclaimed wood paneling adds a touch of history and character to any room. Consider using old barn wood, fencing, or even pallets to create a unique and rustic look. You can leave the wood in its natural state or add a finish to enhance the color and texture. For a more dramatic effect, mix and match different types of reclaimed wood to create a one-of-a-kind design. This eco-friendly option not only reduces waste but also tells a story, making your space truly special. With reclaimed wood paneling, you can achieve a cozy, vintage atmosphere that’s perfect for a farmhouse-style kitchen or a cozy living room.
Paneling Like a Pro: 5 Essential Tips to Elevate Your DIY Game
- Measure Twice, Cut Once: The golden rule of DIY applies tenfold to wall paneling – accurate measurements are crucial to avoiding costly mistakes and ensuring a seamless finish
- Choose the Right Materials: From reclaimed wood to modern MDF, selecting the perfect material for your paneling project can make all the difference in achieving the desired aesthetic and durability
- Plan for Electrical Outlets and Switches: Don’t let your beautiful paneling job be marred by awkwardly placed outlets or switches – plan ahead to ensure a sleek, professional-looking finish
- Consider the Room’s Acoustics: DIY wall paneling can be a great opportunity to improve a room’s sound quality – choose materials and designs that enhance the space’s acoustics for a more enjoyable living experience
- Add a Personal Touch with Creative Paneling Patterns: Break free from boring, uniform paneling designs and unleash your inner artist with unique patterns and layouts that reflect your personal style and add visual interest to the room
Key Takeaways for a Stunning DIY Wall Paneling Project
By incorporating DIY wall paneling ideas, you can dramatically enhance the aesthetic and value of your home, whether through reclaimed wood, modern designs, or other creative approaches
Reclaimed wood paneling and modern wall designs offer unique opportunities to add character and sophistication to any room, allowing for a wide range of personalization and style expression
Whether you’re aiming for a rustic, contemporary, or eclectic look, the right DIY wall paneling choice can serve as a focal point, tying together your furniture, decor, and overall interior design vision
Paneling Wisdom
The beauty of DIY wall paneling lies not just in its aesthetic appeal, but in the freedom to reimagine and redefine the very spaces we call home.
Ava Morales
Bringing Your Vision to Life
With the right mindset and a bit of creativity, you can transform any room with DIY wall paneling. From reclaimed wood paneling ideas that add a touch of rustic charm to modern wall paneling designs that exude sleek sophistication, the possibilities are endless. By following the steps and ideas outlined in this guide, you’ll be well on your way to creating a space that reflects your unique style and personality. Whether you’re looking to make a bold statement or simply add some subtle texture, DIY wall paneling is an accessible and rewarding project for DIY enthusiasts of all skill levels.
As you embark on your DIY wall paneling journey, remember that it’s all about unleashing your inner decor maverick. Don’t be afraid to think outside the box and try new things – it’s often the most unconventional ideas that lead to the most stunning results. With a little patience, persistence, and creativity, you can create a space that’s truly one-of-a-kind. So go ahead, get inspired, and start paneling your way to a more beautiful, more personalized home – the possibilities are endless, and the transformation will be nothing short of amazing.
Frequently Asked Questions
What are the most durable materials to use for DIY wall paneling?
For a durable DIY wall paneling, I swear by solid woods like oak or maple, or even MDF with a sturdy finish – they can withstand the test of time and still look amazing.
How do I ensure a seamless finish when installing DIY wall panels?
To get a seamless finish, make sure to measure carefully and cut your panels with precision. Use a level to ensure everything is straight, and apply a thin layer of adhesive to the back of each panel for a snug fit. Finish with a touch of caulk or spackling to hide any gaps or seams.
Can I use DIY wall paneling to cover uneven or damaged walls?
Absolutely, DIY wall paneling is a great way to cover up uneven or damaged walls. It’s like a decorative Band-Aid, concealing imperfections while adding a touch of style to your space. Just ensure you properly assess and prepare the wall surface before installation for a seamless finish.