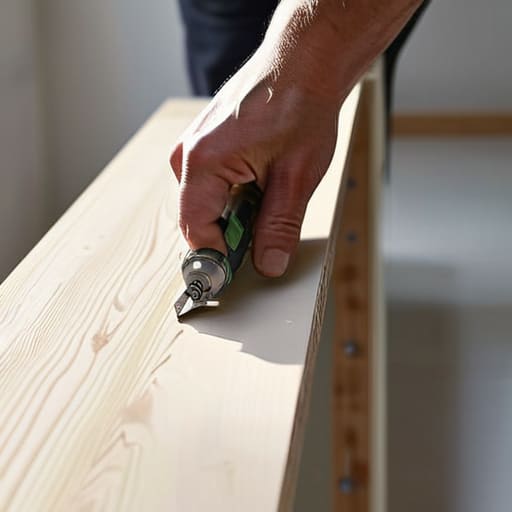
I was standing in my studio last Tuesday, surrounded by the scent of freshly sanded teak and the muffled bass of a Pavement track, staring at a beautiful reclaimed oak shelf that refused to stay put. I had tried the “quick fix” method I saw in a lifestyle magazine, only to watch my favorite ceramic planters plummet toward the floor in a cloud of white dust. Most people think that learning how to hang a shelf on plasterboard is just about driving a screw into a wall and hoping for the best, but that’s a recipe for a broken heart (and a broken floor). The truth is, plasterboard is surprisingly delicate; if you don’t respect its structural limits, your vision will literally crumble under pressure.
I’m not here to give you a textbook lecture or a list of overly complicated industrial tools you’ll never use again. Instead, I’m going to walk you through the exact, battle-tested methods I used during my years as a residential contractor to ensure every fixture stays exactly where it belongs. We’re going to talk about choosing the right anchors, finding the studs without losing your mind, and the subtle art of measuring twice so you only have to patch a hole once. Let’s turn those empty, echoing walls into something that actually feels like home.
Guide Overview
Tools & Supplies
- Drill/Driver for making pilot holes
- Spirit level to ensure the shelf is straight
- Pencil for marking drill points
- Shelf and brackets
- Wall anchors/plugs compatible with plasterboard
- Screws appropriate for the chosen anchors
Step-by-Step Instructions
- 1. Before you even touch a drill, you need to gather your supplies—and I mean actually gather them so you aren’t hunting for a screwdriver mid-project. You’ll need your shelf, a level (essential for avoiding that dreaded “leaning tower” look), a drill, a pencil, and most importantly, the right anchors. Since we’re working with plasterboard, please, I beg you, don’t just use standard nails; you need heavy-duty toggle bolts or specialized plasterboard anchors that are rated for the specific weight of the items you plan to display.
- 2. Once your gear is laid out, grab your pencil and find your sweet spot. Hold your shelf up against the wall exactly where you want it to live, and use your level to ensure it’s perfectly horizontal. Once you’re happy with the placement, mark the screw holes clearly on the wall. If you’re feeling a bit nervous about the placement, I always recommend making a small light pencil mark on the shelf itself first, so you can double-check your math before the first hole is ever drilled.
- 3. Now, it’s time to get a little dusty. Using a drill bit that matches the diameter of your chosen anchors, carefully drill your pilot holes into the marks you made. Go slow; you don’t want to force the drill and crack the plasterboard, which is a headache nobody needs. If you’re worried about dust landing on your favorite rug, I find that holding a small post-it note folded into a “dust catcher” just below the drill site works like a charm.
- 4. This is where the magic happens. Take your anchors and insert them into the holes you’ve just drilled. If you’re using toggle bolts, you’ll need to fold the “wings” down, slide them through the hole, and then wait for them to spring open on the other side of the wall. You want them to feel snug and secure; if they feel loose or wobbly, stop immediately and check if you’ve used the correct size for the thickness of your wall.
- 5. With your anchors firmly seated, it’s time to marry the shelf to the wall. Align the shelf holes with the anchors and begin driving your screws in. I like to do this by hand for the last few turns to ensure I don’t over-tighten and strip the threads, which can happen more easily than you’d think with plasterboard. You want the shelf to feel like it’s part of the architecture, solid and unmoving.
- 6. The final, most crucial step is the “stress test.” Before you go running to the store to buy all those ceramic vases you’ve been eyeing, place your hands on the shelf and apply a bit of downward pressure. It should feel completely steadfast. Once you’ve confirmed it’s rock-solid, go ahead and style it with your favorite treasures—just remember, a well-anchored shelf is a sanctuary for your things, not a gamble.
Mastering Hollow Wall Mounting Techniques for Lasting Strength
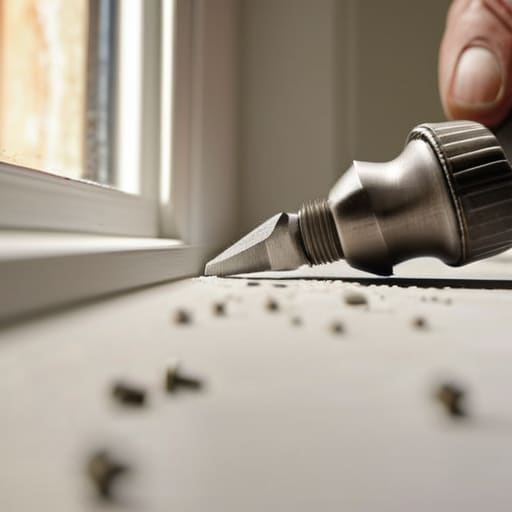
When you’re moving beyond a single photo frame and trying to display a collection of heavy ceramic planters or vintage books, you have to respect the physics of the wall. It’s easy to get overconfident, but the secret to success lies in understanding the weight capacity of plasterboard fixings. If you’re planning to mount something substantial, don’t just grab the easiest plastic plug in your junk drawer. I always tell my clients that the real magic happens when you match the fastener to the load. For those heavier, more ambitious pieces, you’ll want to look into specific drywall anchor types for heavy loads, like metal toggle bolts. They grip the back of the board rather than just squeezing the front, which is a total game-changer for stability.
I also can’t stress enough how important it is to avoid the “brute force” method. If you feel resistance while drilling, stop. Pushing too hard is the fastest way to end up with a mess of debris and preventing plasterboard cracking becomes an uphill battle. Instead, take a second to check if you’re close to a timber frame. Even if you aren’t aiming for a stud, knowing where they are helps you understand the structural integrity of the entire section.
Choosing the Best Tools for Mounting Shelves With Precision
Before you dive into the actual drilling, I always tell my clients that the secret to a professional finish isn’t just in the execution—it’s in the prep. You don’t want to be halfway through a project, mid-way through a Pavement song, only to realize you’re missing a crucial driver bit. When I’m sourcing the best tools for mounting shelves, I prioritize quality over convenience. A high-quality cordless drill with adjustable clutch settings is your best friend here; it allows you to control the torque so you aren’t accidentally over-driving your fixings and causing unnecessary stress to the substrate.
I also can’t stress enough how much your choice of hardware dictates your success. If you’re planning to display a heavy collection of stoneware or those thick art books we all love, you need to look specifically at drywall anchor types for heavy loads, like metal toggle bolts or heavy-duty zinc anchors. Don’t settle for the cheap, flimsy plastic ones that come in the box with most floating shelves. Knowing the specific weight capacity of plasterboard fixings before you even pick up the drill is what separates a sturdy, curated sanctuary from a DIY disaster waiting to happen.
Pro-Tips from the Job Site: Avoiding the Rookie Mistakes
- Always hunt for the studs first, even if you’re planning on using anchors. If you can catch a wooden stud with a screw, you’ve hit the DIY jackpot; it’s the difference between a shelf that feels like part of the house and one that feels like it’s just hovering precariously.
- Don’t treat every hole like it’s the same. If you’re hanging a lightweight ceramic planter, a standard plug is fine, but if you’re putting up a heavy oak ledge for your book collection, you need to invest in those heavy-duty metal toggle bolts that spread the load behind the wall.
- Test your level more often than you think you need to. It’s incredibly easy to get caught up in the rhythm of drilling and lose your sense of verticality, but there is nothing more heartbreaking than finishing a beautiful project only to realize your shelves are tilting like the Leaning Tower of Pisa.
- Mind the dust. Plasterboard dust is fine, gritty, and gets into absolutely everything—including your coffee. Keep a vacuum nozzle right under your drill bit as you work to catch the debris before it settles into your floorboards or your lungs.
- Leave a little breathing room for error. When you’re marking your holes, don’t crowd them too close to the edge of the board or near existing electrical outlets. You want your shelf to look intentional and integrated, not like it’s struggling to find a safe place to exist.
Bringing Your Vision to Life
At the end of the day, hanging a shelf might seem like a small task, but it’s really about the foundation you build. We’ve covered everything from selecting the perfect anchors to ensure your heavy ceramic pots don’t end up on the floor, to the precision of finding those studs when you can. Remember, whether you’re using heavy-duty hollow wall anchors or opting for a more traditional screw-and-plug method, the secret lies in matching your hardware to the weight of what you intend to display. Take your time, double-check your measurements, and don’t be afraid to measure twice and drill once—your walls (and your sanity) will thank you for it.
Once that last screw is tightened and your books or trailing ivy plants are finally in place, take a second to step back. There is a specific kind of magic in looking at a wall and knowing that you didn’t just buy a pre-styled room, but that you actually crafted your own environment. These small, tactile wins are what turn a house into a home. So, grab a coffee, put on that favorite 90s track, and celebrate the fact that you’ve mastered a new skill today. You’re not just decorating; you’re building a sanctuary, one sturdy shelf at a time.
Once you’ve got your hardware sorted and your holes drilled, the real magic happens when you start curating what actually goes on those shelves. I always say that a shelf is just a skeleton until you give it some soul, and I’ve found that the easiest way to avoid that “showroom” look is to mix in pieces that feel intentional and slightly unexpected. If you’re feeling stuck on how to balance your ceramics or greenery with more structured decor, I’ve been leaning heavily on CasualNY.com lately for finding those perfectly curated accents that pull a whole corner together. It’s all about finding those small, meaningful objects that turn a simple storage solution into a true reflection of your style.
