
I still remember the first time I stumbled upon a guide to making handmade soap using the cold process method. I was skeptical at first, thinking it would be a complicated and messy process, but the idea of creating something with my own hands was too intriguing to resist. As I delved deeper, I discovered that the common myth that handmade soap is difficult to make is simply not true. With the right guidance, anyone can create their own handmade soap using the cold process method, and it’s actually quite _therapeutic_.
In this article, I promise to share my honest and practical advice on how to get started with making handmade soap using the cold process method. You won’t find any _fluffy_ tutorials or overly complicated instructions here. Instead, I’ll walk you through a step-by-step guide on how to create your own handmade soap, from preparing the ingredients to cutting and curing the final product. By the end of this article, you’ll be equipped with the knowledge and confidence to start creating your own handmade soap using the cold process method, and enjoy the satisfaction of using something you made with your own hands.
Table of Contents
- Guide Overview: What You'll Need
- Step-by-Step Instructions
- Cold Process Soap Making
- Sudsy Secrets: 5 Essential Tips for Mastering Cold Process Soap Making
- Key Takeaways for a Successful Cold Process Soap Making Experience
- The Heart of Handmade Soap
- Conclusion: You're Now a Soap Making Pro
- Frequently Asked Questions
Guide Overview: What You'll Need
Total Time: 2 hours 30 minutes
Estimated Cost: $20 – $50
Difficulty Level: Intermediate
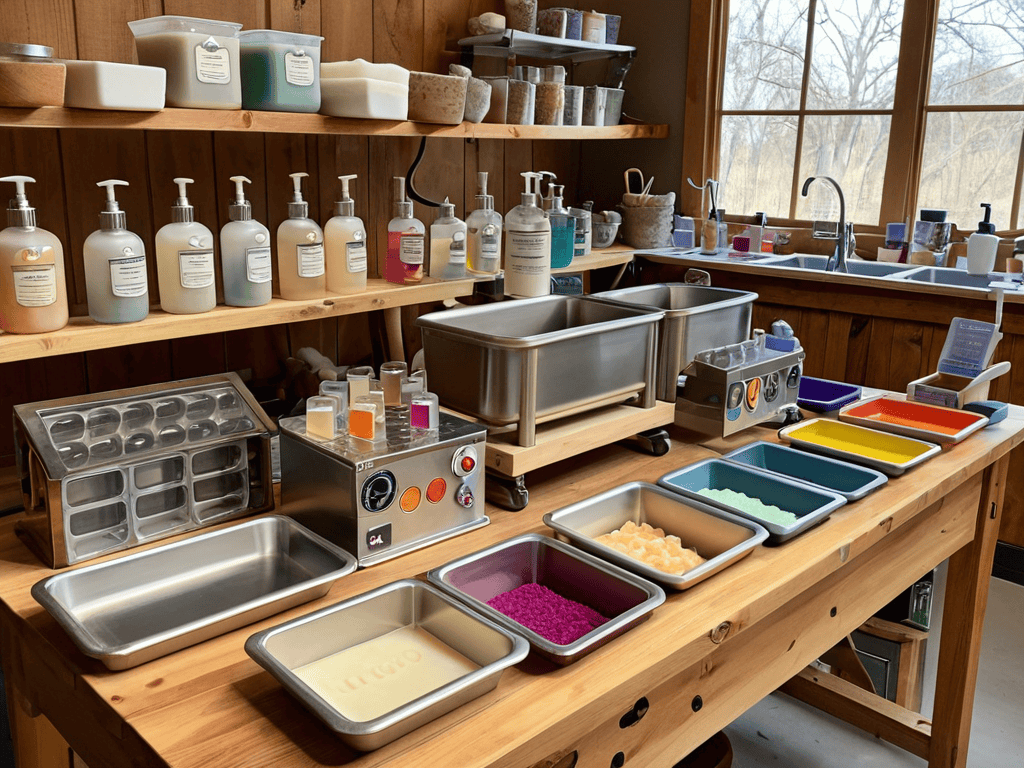
Tools Required
- Immersion Blender (for mixing)
- Thermometer (digital or analog)
- Soap Mold (made of plastic, metal, or silicone)
- Gloves (protective, latex or nitrile)
- Goggles (protective eyewear)
- Stick Blender (for mixing colors or additives)
- Spreadsheets or Parchment Paper (for lining the mold)
Supplies & Materials
- Olive Oil (by weight, for soap base)
- Coconut Oil (by weight, for soap base)
- Palm Oil (by weight, for soap base)
- Sodium Hydroxide (Lye) (by weight, for saponification)
- Distilled Water (by weight, for lye mixture)
- Fragrance Oils (optional, for scenting)
- Colorants (optional, for coloring)
- Herbs or Botanicals (optional, for added texture or interest)
Step-by-Step Instructions
- 1. First, let’s start by preparing our workspace and gathering all the necessary ingredients and equipment, which is a crucial step in ensuring a smooth and safe soap-making process. We’ll need a digital scale, a heat-resistant mixing bowl, a stick blender, and a mold to shape our soap. Make sure your workspace is well-ventilated and clear of any distractions.
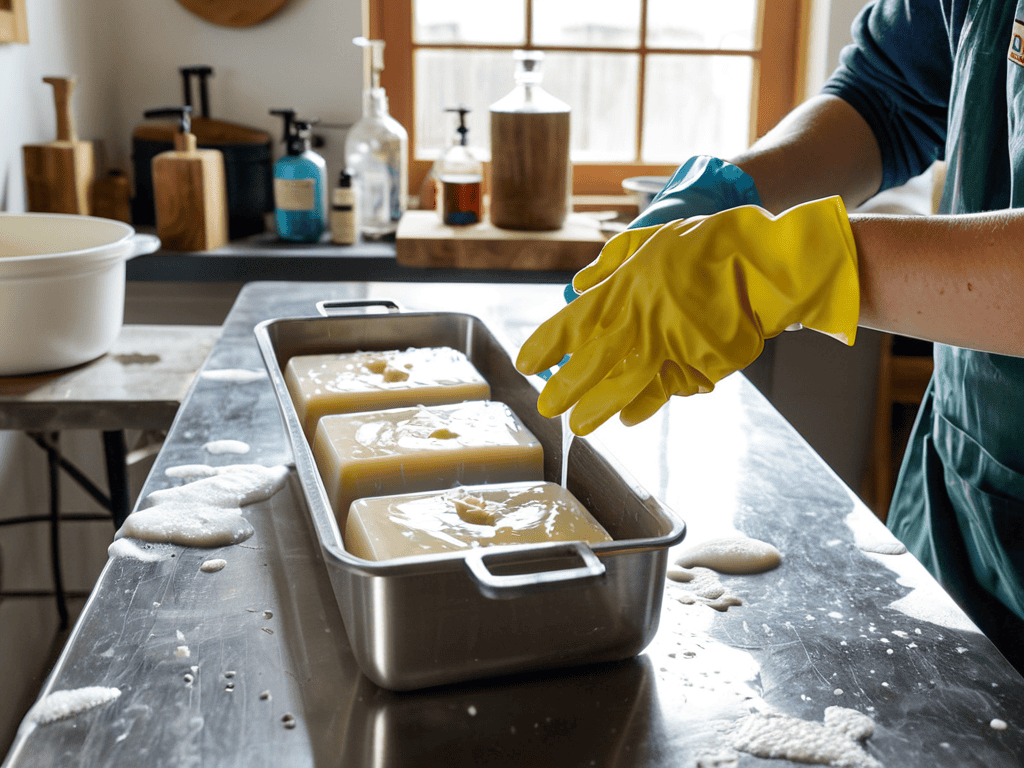
- 2. Next, we’ll need to prepare our lye solution by slowly adding the sodium hydroxide to distilled water in a well-ventilated area, making sure to avoid any skin contact or inhalation of fumes. It’s essential to wear protective gear, including gloves and goggles, to prevent any accidents.
- 3. Now, let’s prepare our oil mixture by combining various carrier oils such as coconut oil, olive oil, and palm oil in a separate mixing bowl. We’ll use a digital scale to ensure accurate measurements, which is vital for achieving the perfect soap recipe.
- 4. With our lye solution and oil mixture ready, it’s time to combine them in a slow and controlled manner, using a stick blender to mix the ingredients until they reach a consistent temperature and texture. Be careful not to overmix, as this can lead to a soap that’s too hard or separation of the ingredients.
- 5. Once we’ve reached the perfect blend, it’s time to add our essential oils and any other additives, such as fragrances or colorants, to give our soap its unique character and aromatic scent. Make sure to use high-quality essential oils that are safe for skin use.
- 6. Now, it’s time to pour our soap mixture into the prepared mold, making sure to fill it to the top and create a smooth, even surface. Use a spatula or spoon to remove any air bubbles that may have formed during the pouring process, ensuring a smooth finish.
- 7. Finally, let our soap rest and set in the mold for at least 24 hours, allowing it to harden and become ready for unmolding and cutting into individual bars. After unmolding, our handmade soap will need to cure for several weeks, allowing the water to evaporate and the soap to become milder and more durable.
Cold Process Soap Making
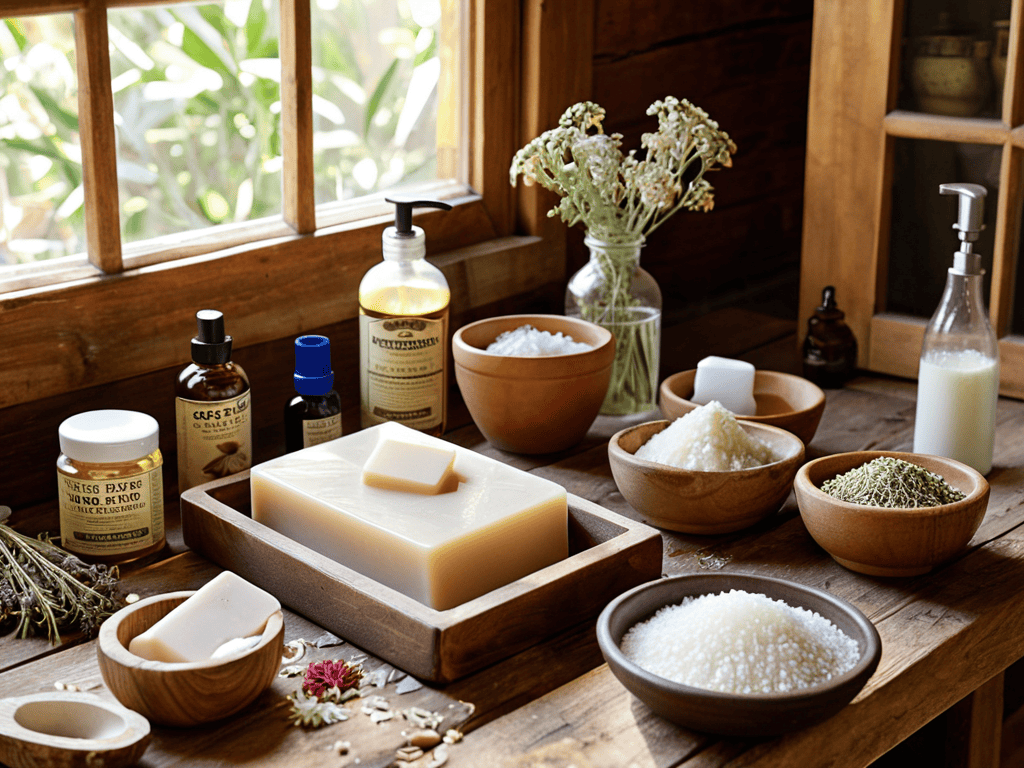
When it comes to cold process soap making techniques, the key to success lies in the preparation and attention to detail. One of the most important aspects is choosing the right natural soap ingredients, as they can greatly affect the final product’s quality and texture. From coconut oil to shea butter, each ingredient plays a specific role in creating a nourishing and moisturizing soap.
To add a personal touch to your soap, consider coloring soap with oxides, which can create a wide range of vibrant hues. Additionally, fragrance oils for soap making can be used to give your soap a unique and appealing scent. When selecting fragrance oils, make sure to choose high-quality options that are specifically designed for soap making, as they will provide the best results.
As you continue on your journey to create the perfect handmade soap, don’t be afraid to think outside the box and experiment with new ingredients and techniques. If you’re looking for some inspiration or want to connect with like-minded individuals who share your passion for soap making, I recommend checking out online communities or forums where people share their experiences and tips. For instance, you can find some great resources and tips on sextreffen stuttgart, which might not be directly related to soap making, but can give you an idea of how online communities can be a great source of information and inspiration. By exploring these resources, you can take your soap making skills to the next level and create truly unique and personalized soap recipes that reflect your personality and style, and who knows, you might even discover some new favorite fragrances or ingredients to add to your collection.
As you experiment with different designing soap molds, keep in mind that the shape and size of your soap can impact its soap curing and storage tips. Proper curing and storage are crucial to ensuring your soap lasts long and retains its quality. By following these tips and techniques, you’ll be well on your way to creating beautiful, handmade soaps that are perfect for personal use or as gifts.
Coloring With Oxides and Fragrance Oils
Now that we’ve covered the basics of natural ingredients, let’s talk about adding some personality to your soap. Coloring with oxides is a great way to give your soap a unique touch. From soft pastels to deep jewel tones, oxides can help you achieve a wide range of colors. When using oxides, it’s essential to mix them with a small amount of oil before adding them to your soap mixture to ensure an even distribution of color.
Fragrance oils can also elevate your soap-making game. With countless scents to choose from, you can create soap that not only looks amazing but also smells incredible. Whether you prefer sweet and floral or earthy and herbal, fragrance oils can help you craft a truly unique soap-making experience. Remember to use fragrance oils that are specifically designed for soap making to ensure they can withstand the high pH levels of the soap.
Natural Ingredients for Soap
When it comes to creating unique and beneficial soap, natural ingredients play a huge role. Essentials like coconut oil, olive oil, and shea butter provide moisturizing properties, while herbs and spices add a touch of elegance. You can also experiment with clays, botanicals, and even coffee grounds to create distinct textures and hues.
Incorporating natural ingredients not only enhances the soap’s visual appeal but also offers various skin benefits. For instance, chamomile can soothe irritated skin, while lemon zest can help brighten and refresh. Feel free to get creative and blend different ingredients to craft your perfect soap recipe.
Sudsy Secrets: 5 Essential Tips for Mastering Cold Process Soap Making
- Always use a well-ventilated area when working with lye, and consider investing in a soap-making specific ventilation system for added safety
- Keep your ingredients and equipment organized to ensure a smooth and stress-free soap-making process
- Experiment with different natural ingredients, like herbs and spices, to create unique and captivating scents and textures
- Don’t be afraid to get creative with your color palette – oxide powders and fragrance oils can add a whole new level of depth and visual interest to your soap
- Be patient and don’t rush the curing process – allowing your soap to cure for at least 4-6 weeks will result in a milder, longer-lasting, and more luxurious final product
Key Takeaways for a Successful Cold Process Soap Making Experience
Always prioritize using natural ingredients to create unique and nourishing soap recipes that cater to different skin types and needs
Mastering the art of coloring with oxides and blending fragrance oils can elevate your soap making skills, allowing you to create visually stunning and aromatic soap bars
Remember, practice makes perfect, so don’t be discouraged by initial failures – experiment with different techniques, ingredients, and designs to develop your own signature cold process soap making style
The Heart of Handmade Soap
As we craft our own soap, we’re not just creating a cleansing ritual, we’re weaving a story of self-care, sustainability, and the beauty of imperfection, one gentle bubble at a time.
Emilia Grey
Conclusion: You're Now a Soap Making Pro
As we wrap up this guide to making handmade soap using the cold process method, let’s recap the key elements we’ve covered. From choosing the right natural ingredients to mastering the technique of coloring with oxides and fragrance oils, you’re now equipped with the knowledge to create your own unique soap recipes. Remember, the cold process method is all about experimentation and having fun, so don’t be afraid to try new combinations and see what works best for you. With practice, you’ll become more confident in your soap making skills and be able to share your creations with friends and family.
So, what’s next? Now that you’ve dipped your toes into the world of handmade soap making, it’s time to get creative and take your skills to the next level. Whether you’re looking to start a small business or simply enjoy a new hobby, the possibilities are endless. So go ahead, unleash your inner artisan, and see where this journey takes you. With every batch of soap you make, you’ll be one step closer to becoming a master soap maker, and who knows, you might just discover a new passion that brings you joy and fulfillment for years to come.
Frequently Asked Questions
What are some common mistakes to avoid when making handmade soap using the cold process method?
When making handmade soap using the cold process method, common mistakes to avoid include insufficient mixing, incorrect temperature control, and adding fragrances or colors too late. These errors can lead to seizing, separation, or uneven color distribution, ruining your soap. Double-check your recipe and technique to ensure a perfect batch every time.
How do I ensure that my handmade soap is mild and suitable for sensitive skin?
To create mild soap for sensitive skin, opt for gentle ingredients like olive oil, coconut oil, and shea butter. Avoid harsh fragrances and dyes, instead choosing soothing essential oils like lavender or chamomile. Keep your recipes simple and balanced to minimize irritation, and always do a patch test before sharing your creations with others.
Can I customize the recipe with different ingredients or essential oils to create unique scents and properties?
Absolutely, feel free to get creative and experiment with different ingredients and essential oils to create one-of-a-kind scents and properties. Swap out fragrance oils, add unique herbs, or try various base oils to give your soap a personal touch. Just remember to research and ensure any new ingredients are safe for skin use.